
Quick guide
From an empty Configurator to a working dashboard in ten steps: project, panel, page, objects, KNX, deploy and the app.
This guide takes you through one complete installation, using the real Configurator screens. It uses a small example villa with a few KNX devices. Follow it once and you will know how every other page in this wiki fits in.
#Step 1: Open the Configurator
When the Configurator starts, the Project Manager opens. It lists the projects saved on this PC and cannot be closed until a project is open.
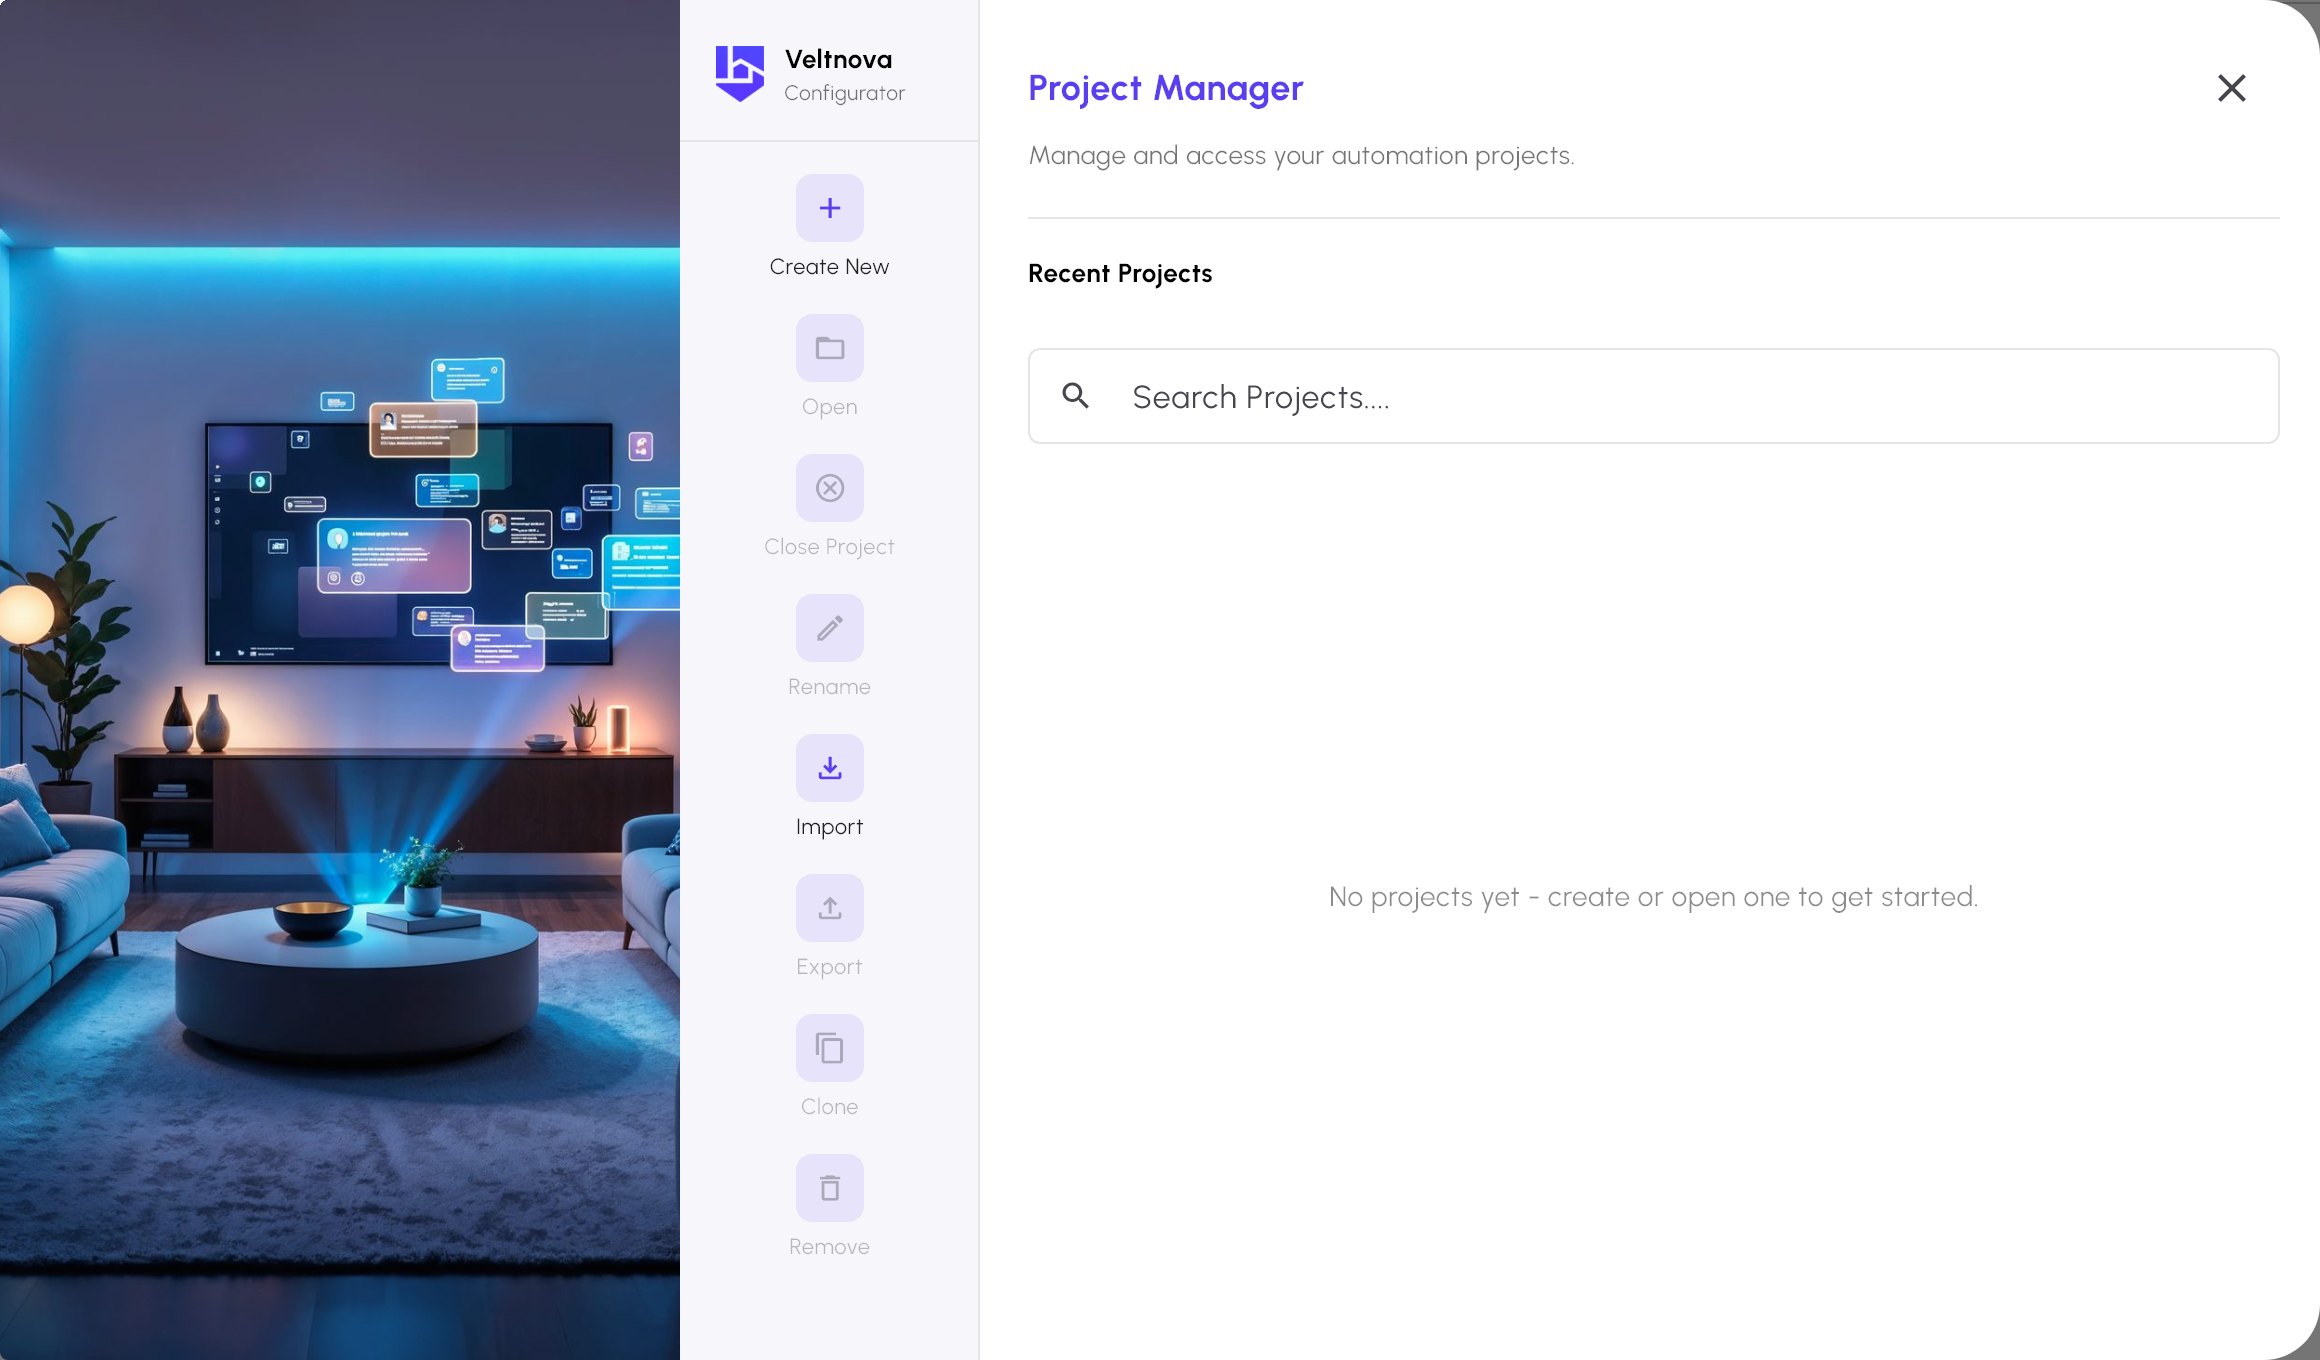
Click Create New.
#Step 2: Fill in the project wizard
The Project Configuration Wizard has five steps. Most fields can be changed later, so enter your best values and keep going.
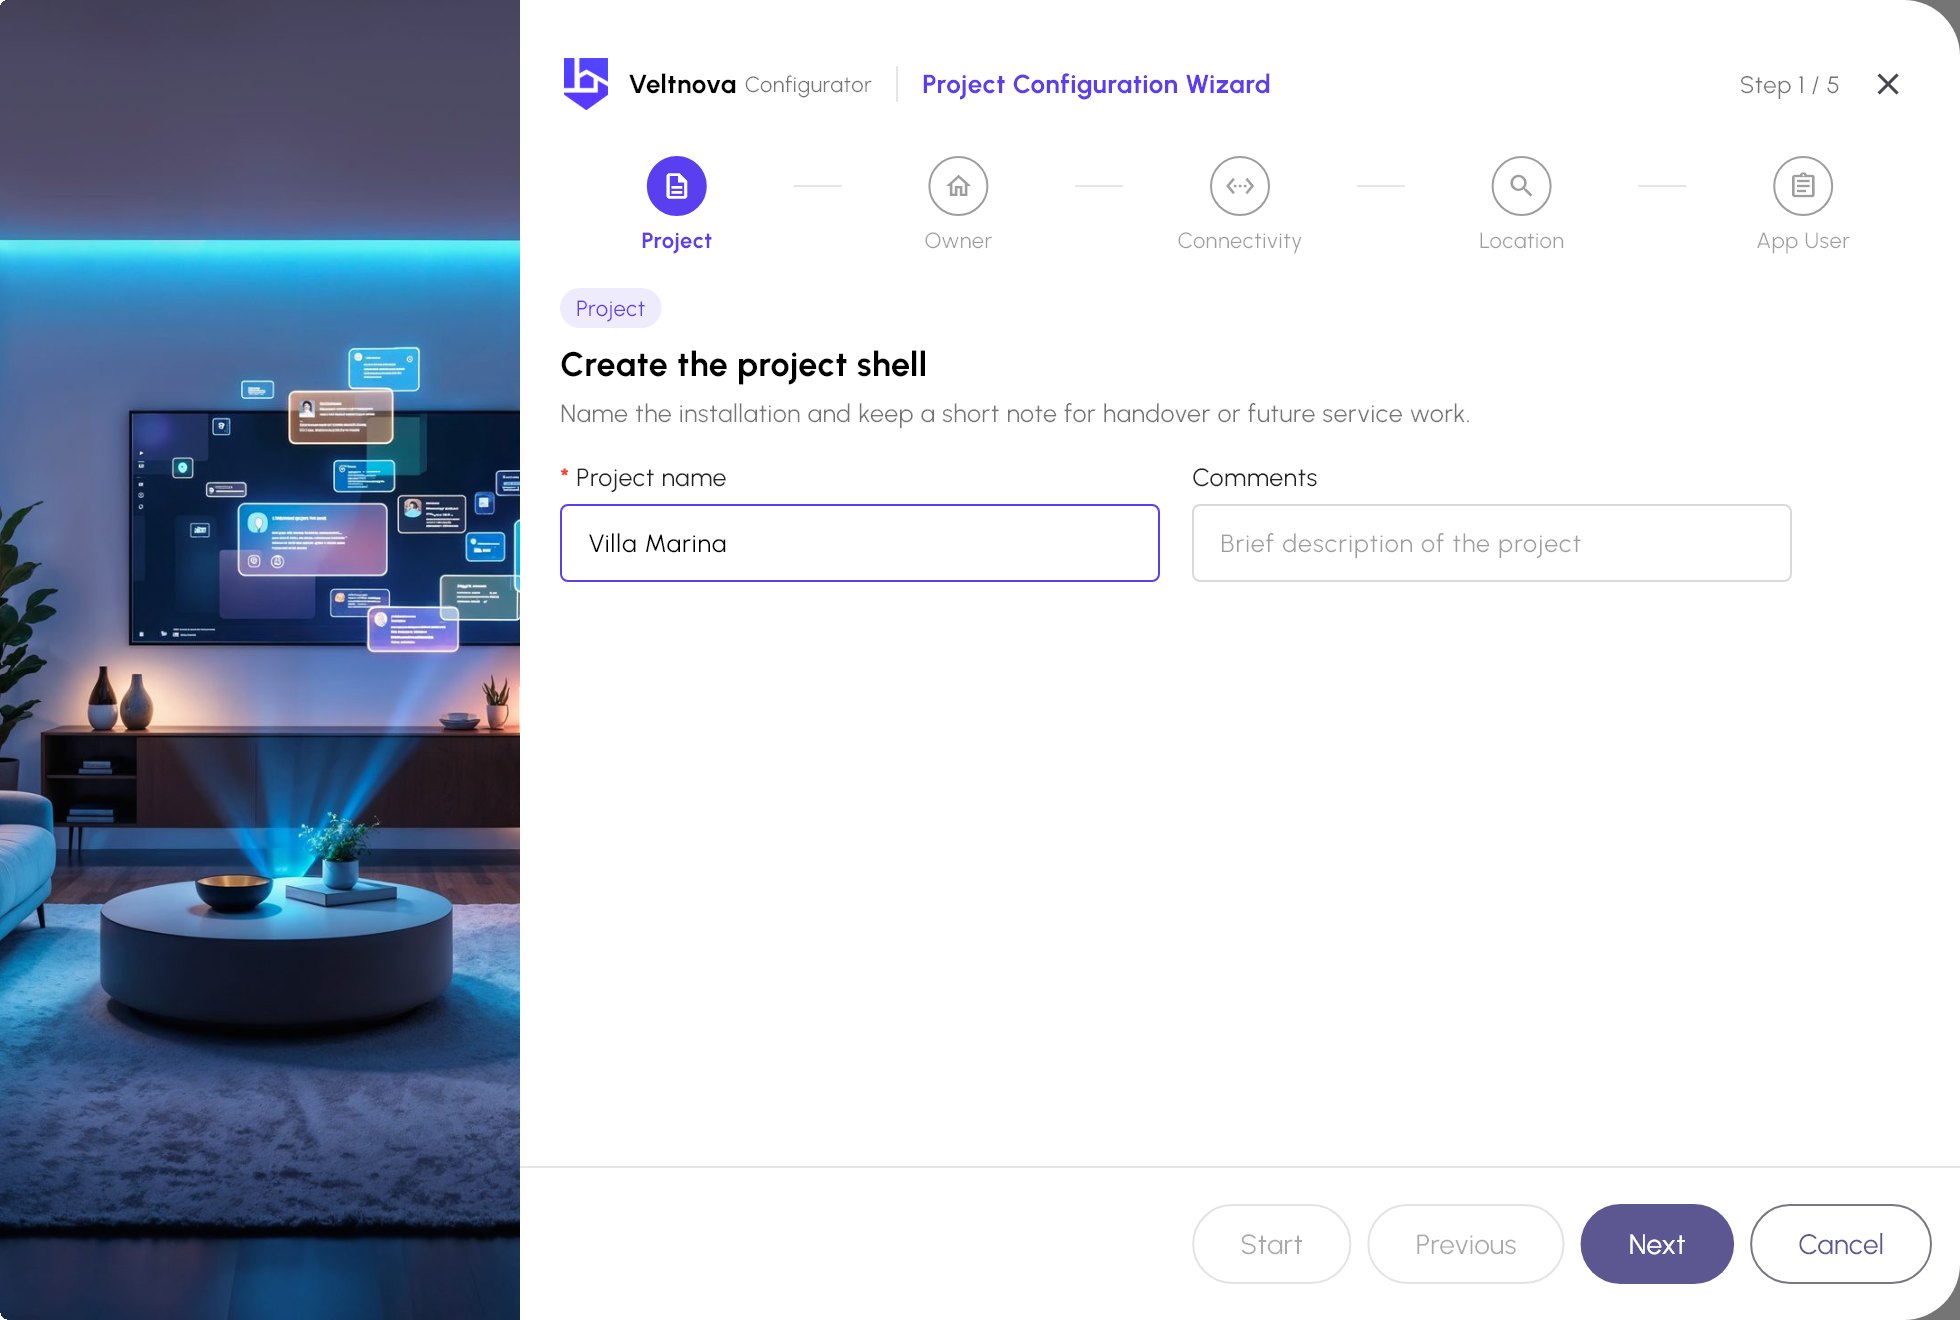
#Project
Give the installation a name. The comment is a free note for handover or later service work.
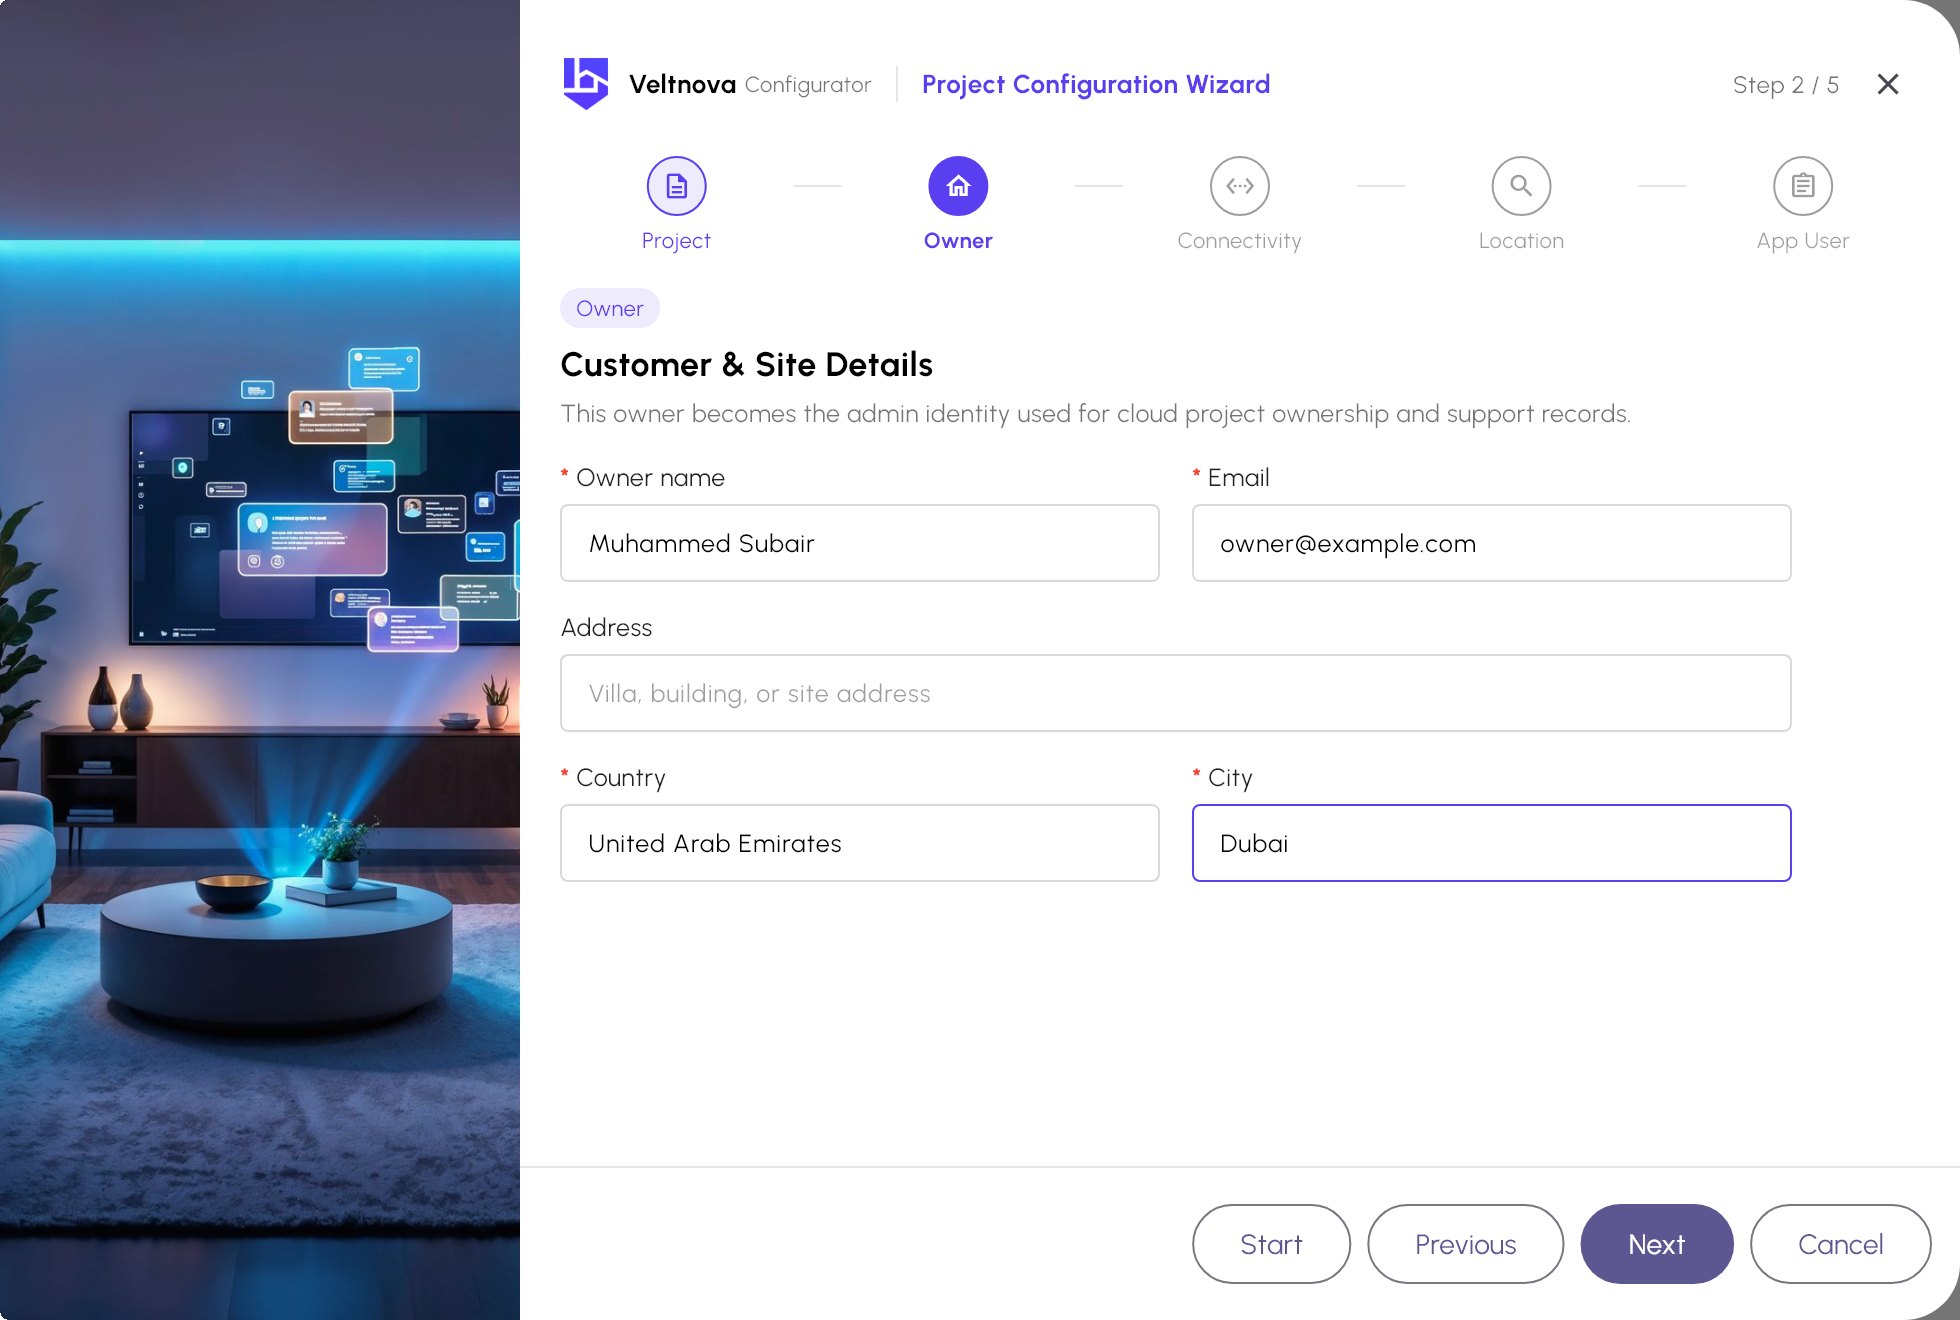
#Owner
The owner name, email, country and city are required. Choosing a city fills in latitude and longitude on the Location step. The sun-based features (sunrise and sunset, prayer times) use them.
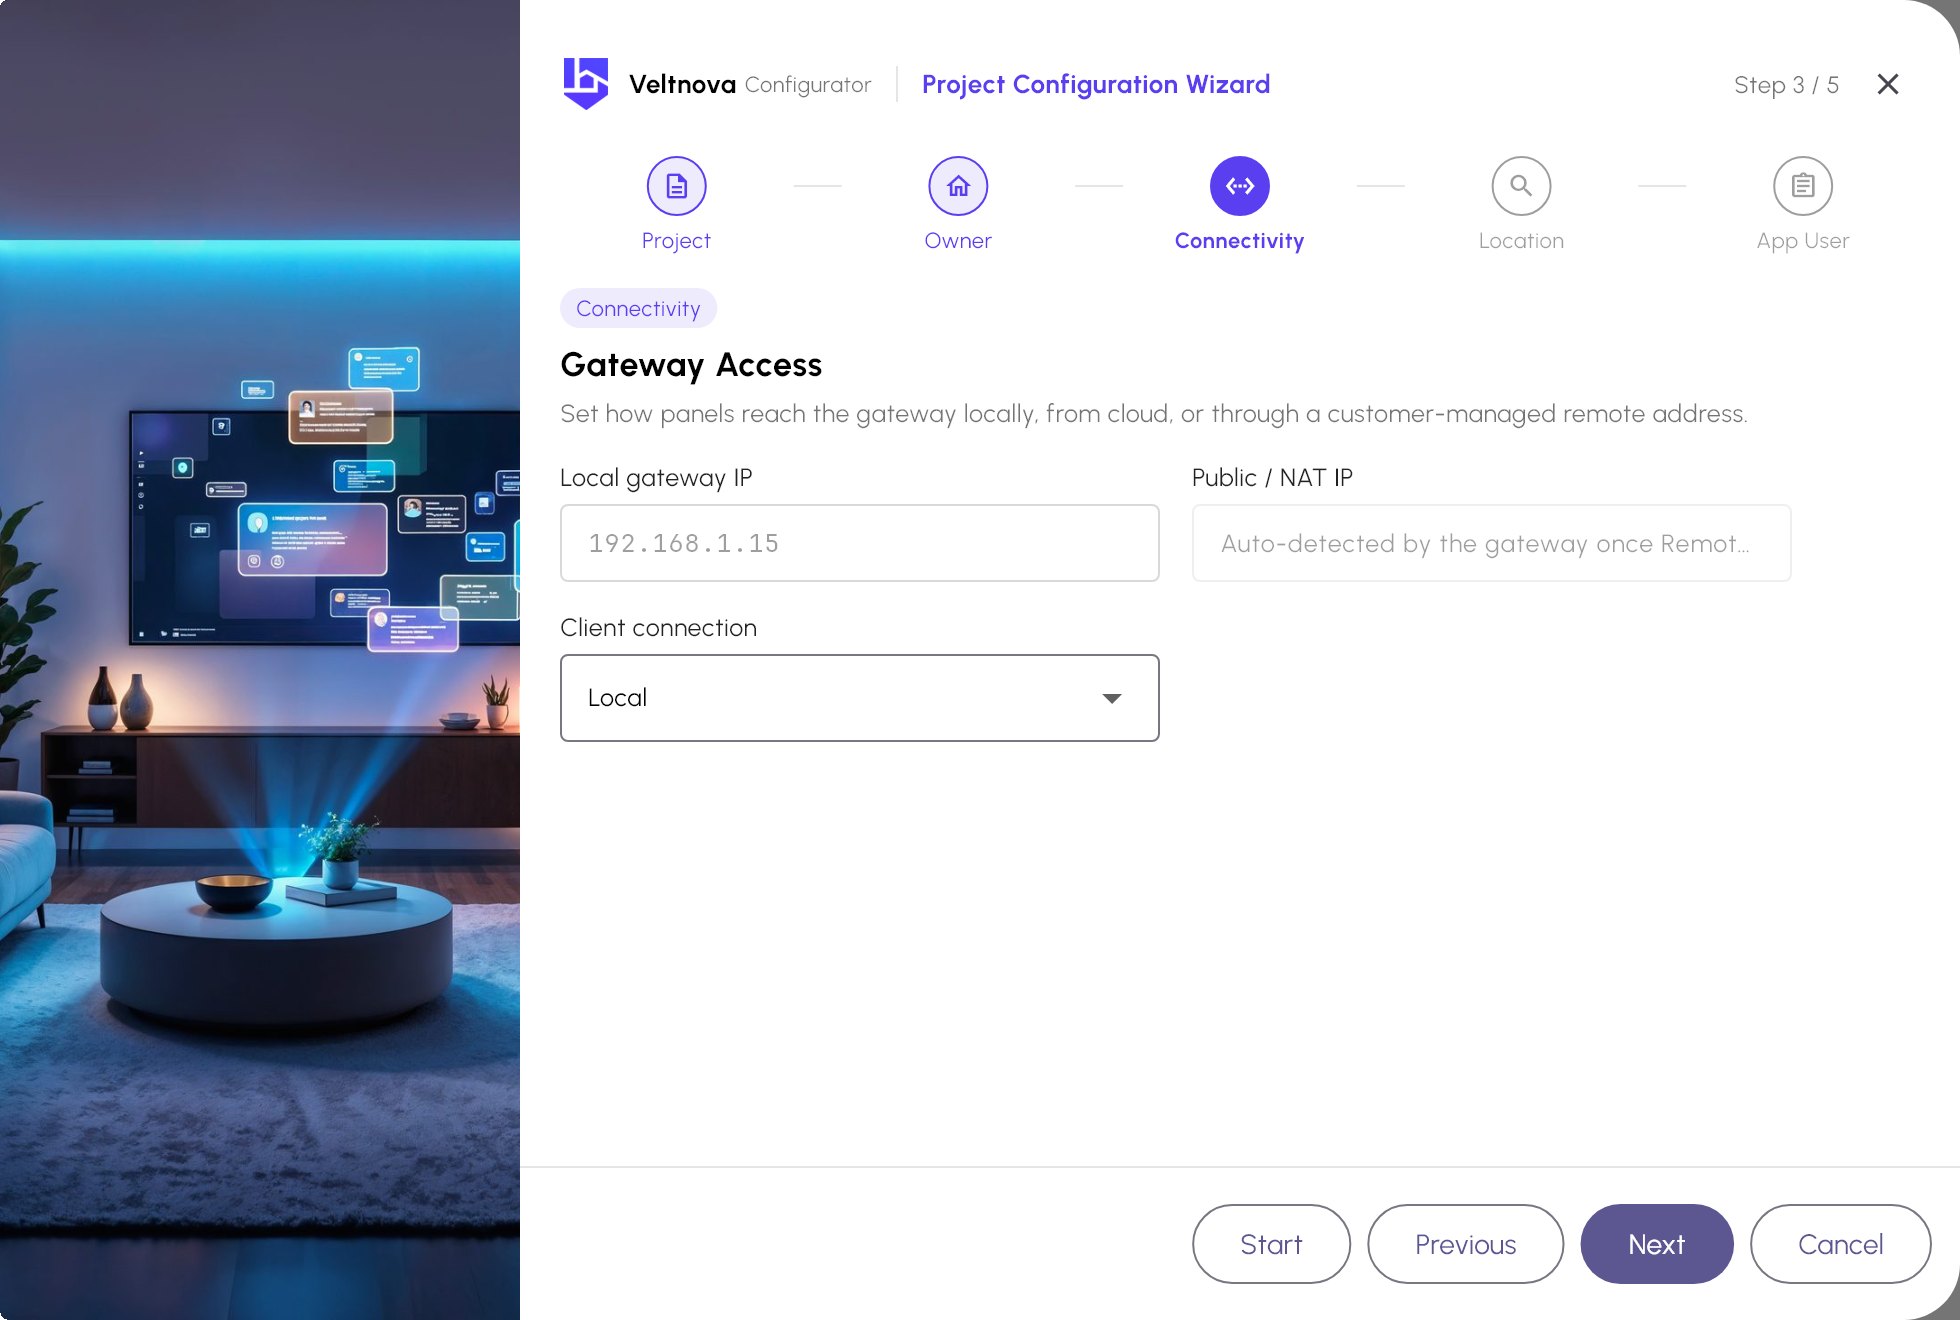
#Connectivity
Enter the local IP address the gateway will have. Choose how the apps reach the gateway under Client connection:
| Option | Meaning |
|---|---|
| Local | Only on the building's network. |
| Local + Remote | Also from outside, using port forwarding on the site router. |
| Cloud | Through the Veltnova cloud relay. |
| Local + Remote + Cloud | All of the above. |
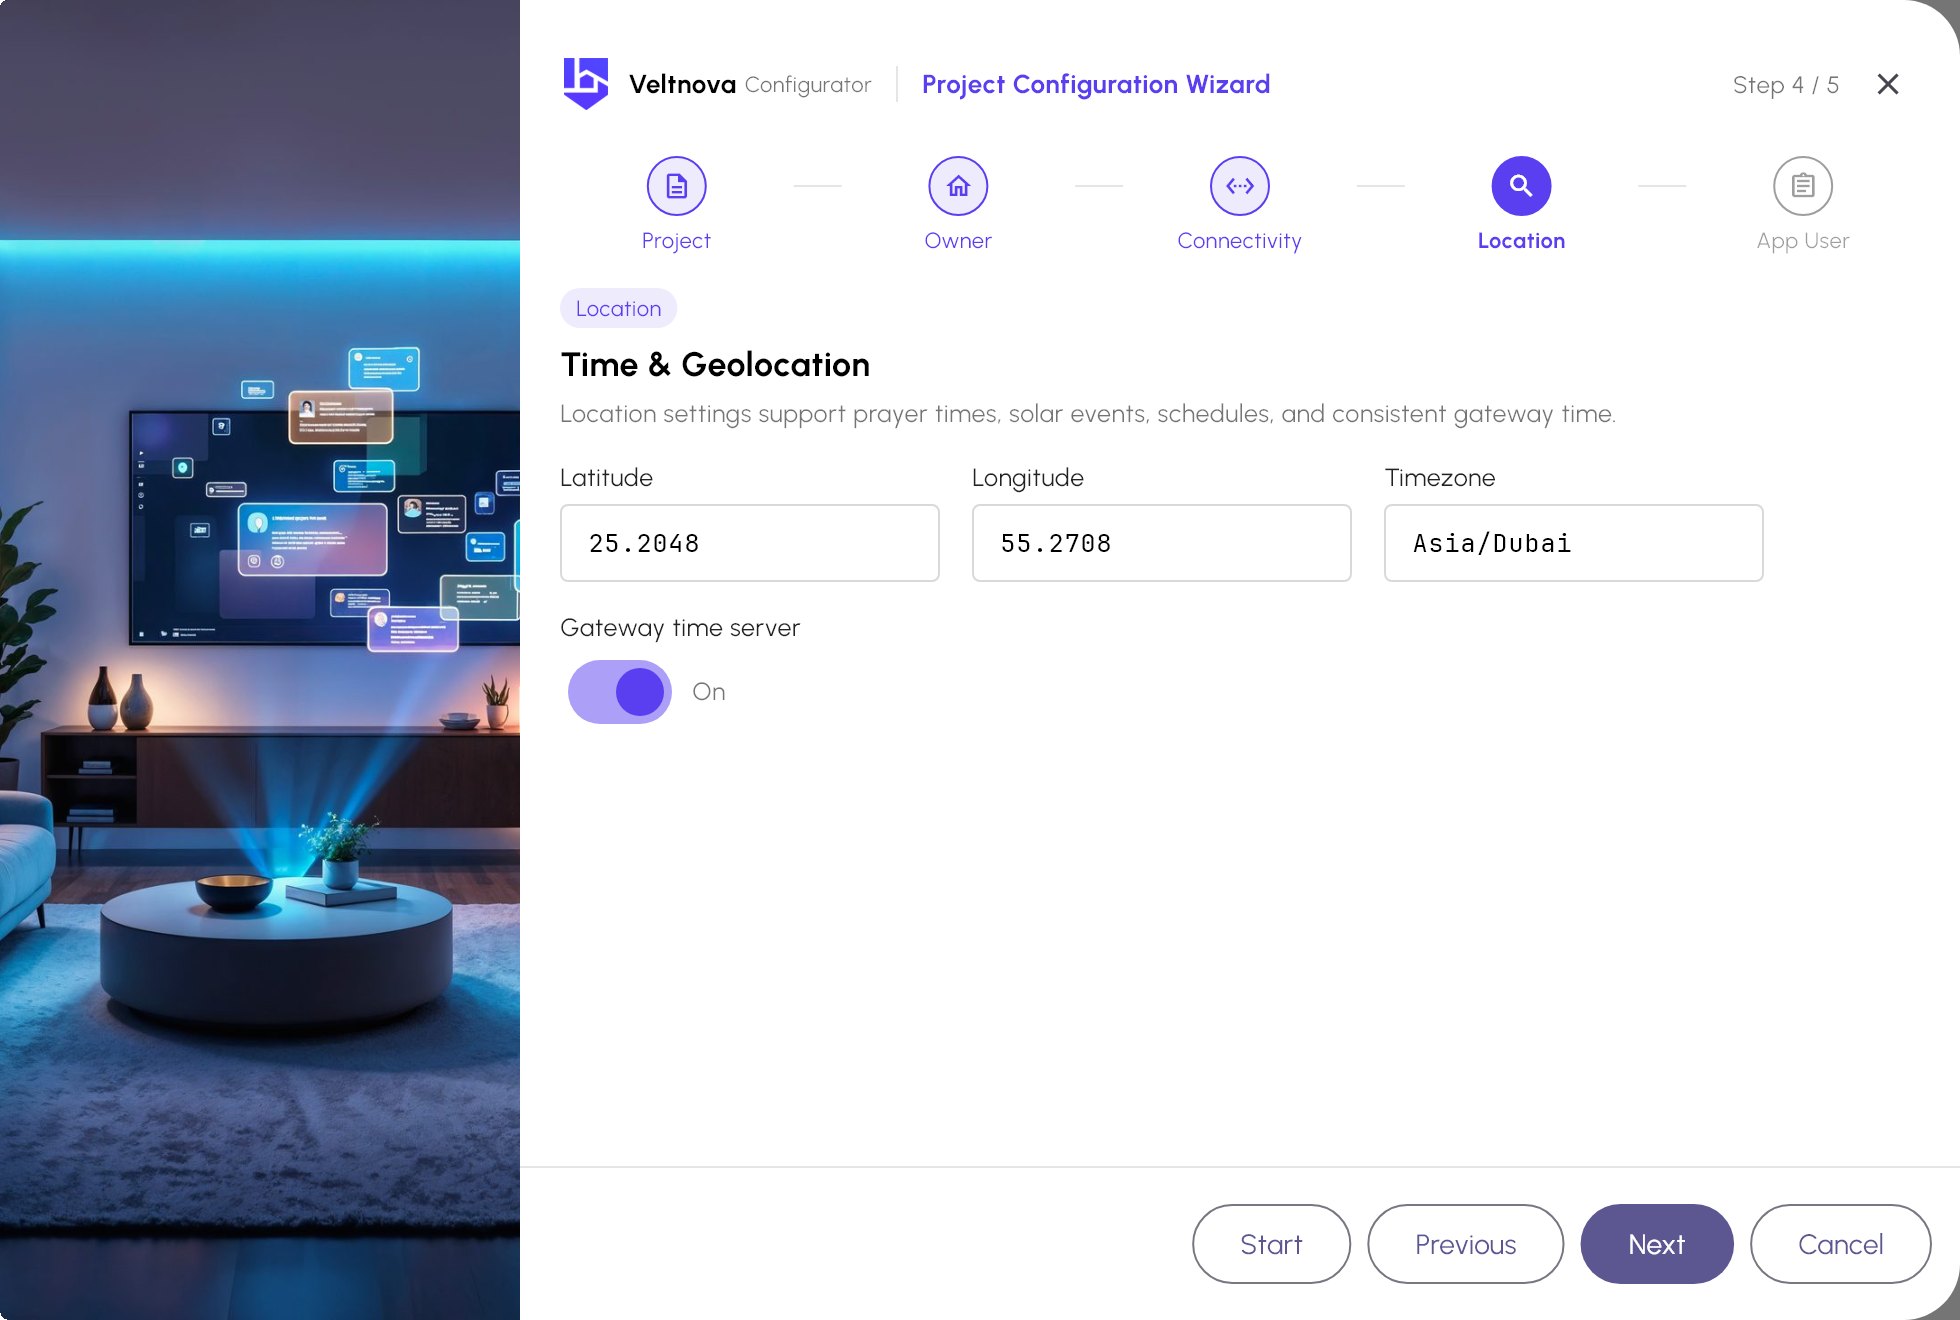
#Location
Latitude, longitude and time zone are filled in from the city. Check them, and decide whether the gateway should use a time server.
#App user
The first person (or wall panel) who will sign in to the app. Choose a username and a password (at least 4 characters). The SIP extension is the number the intercom will ring for this user. More users can be added later in Server > Gateway > Users.
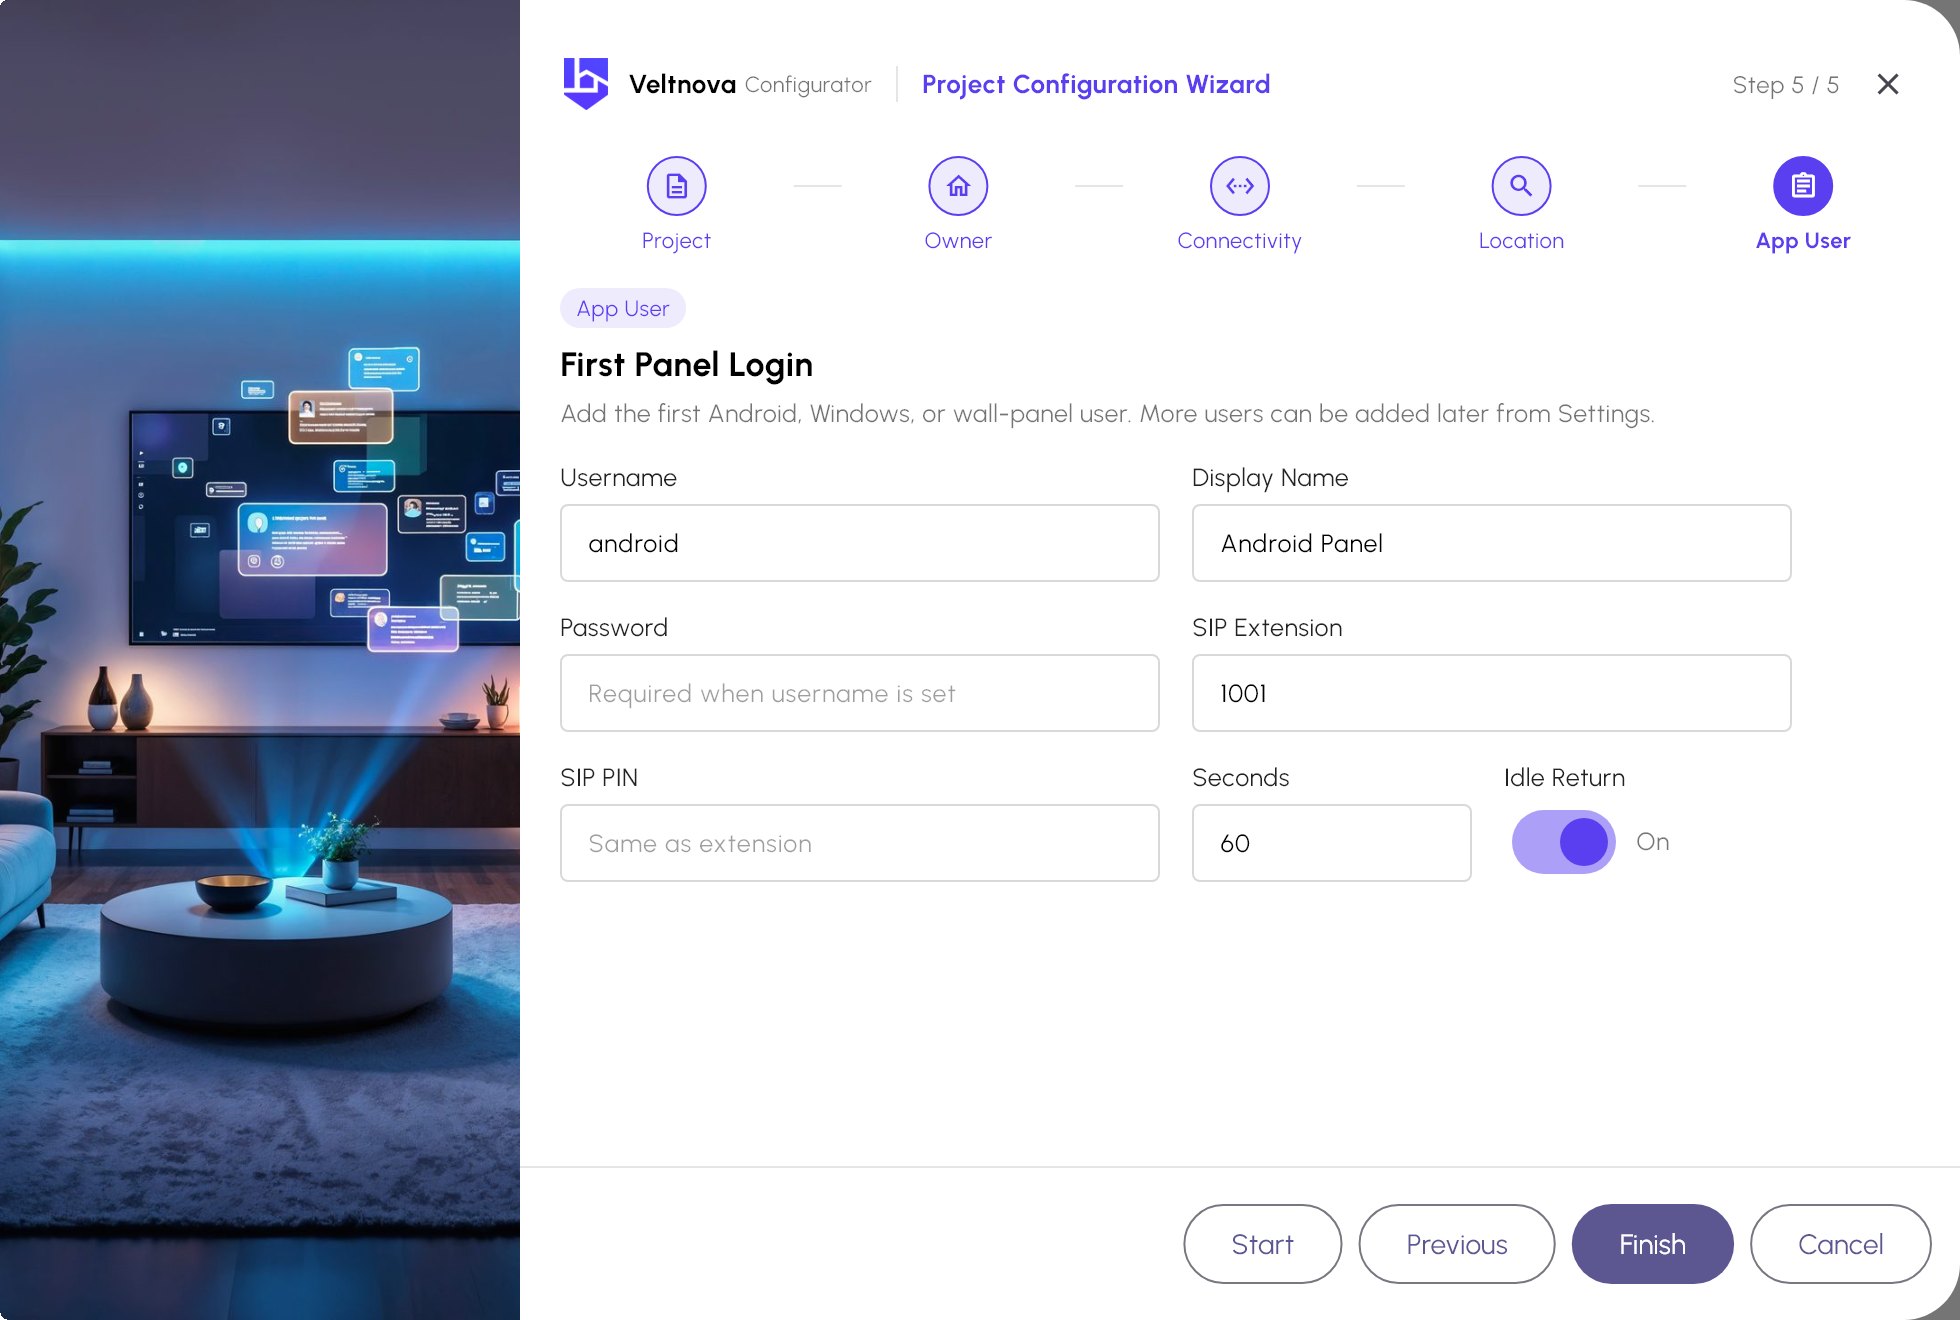
Click Finish. The project is created and Panel Studio opens.
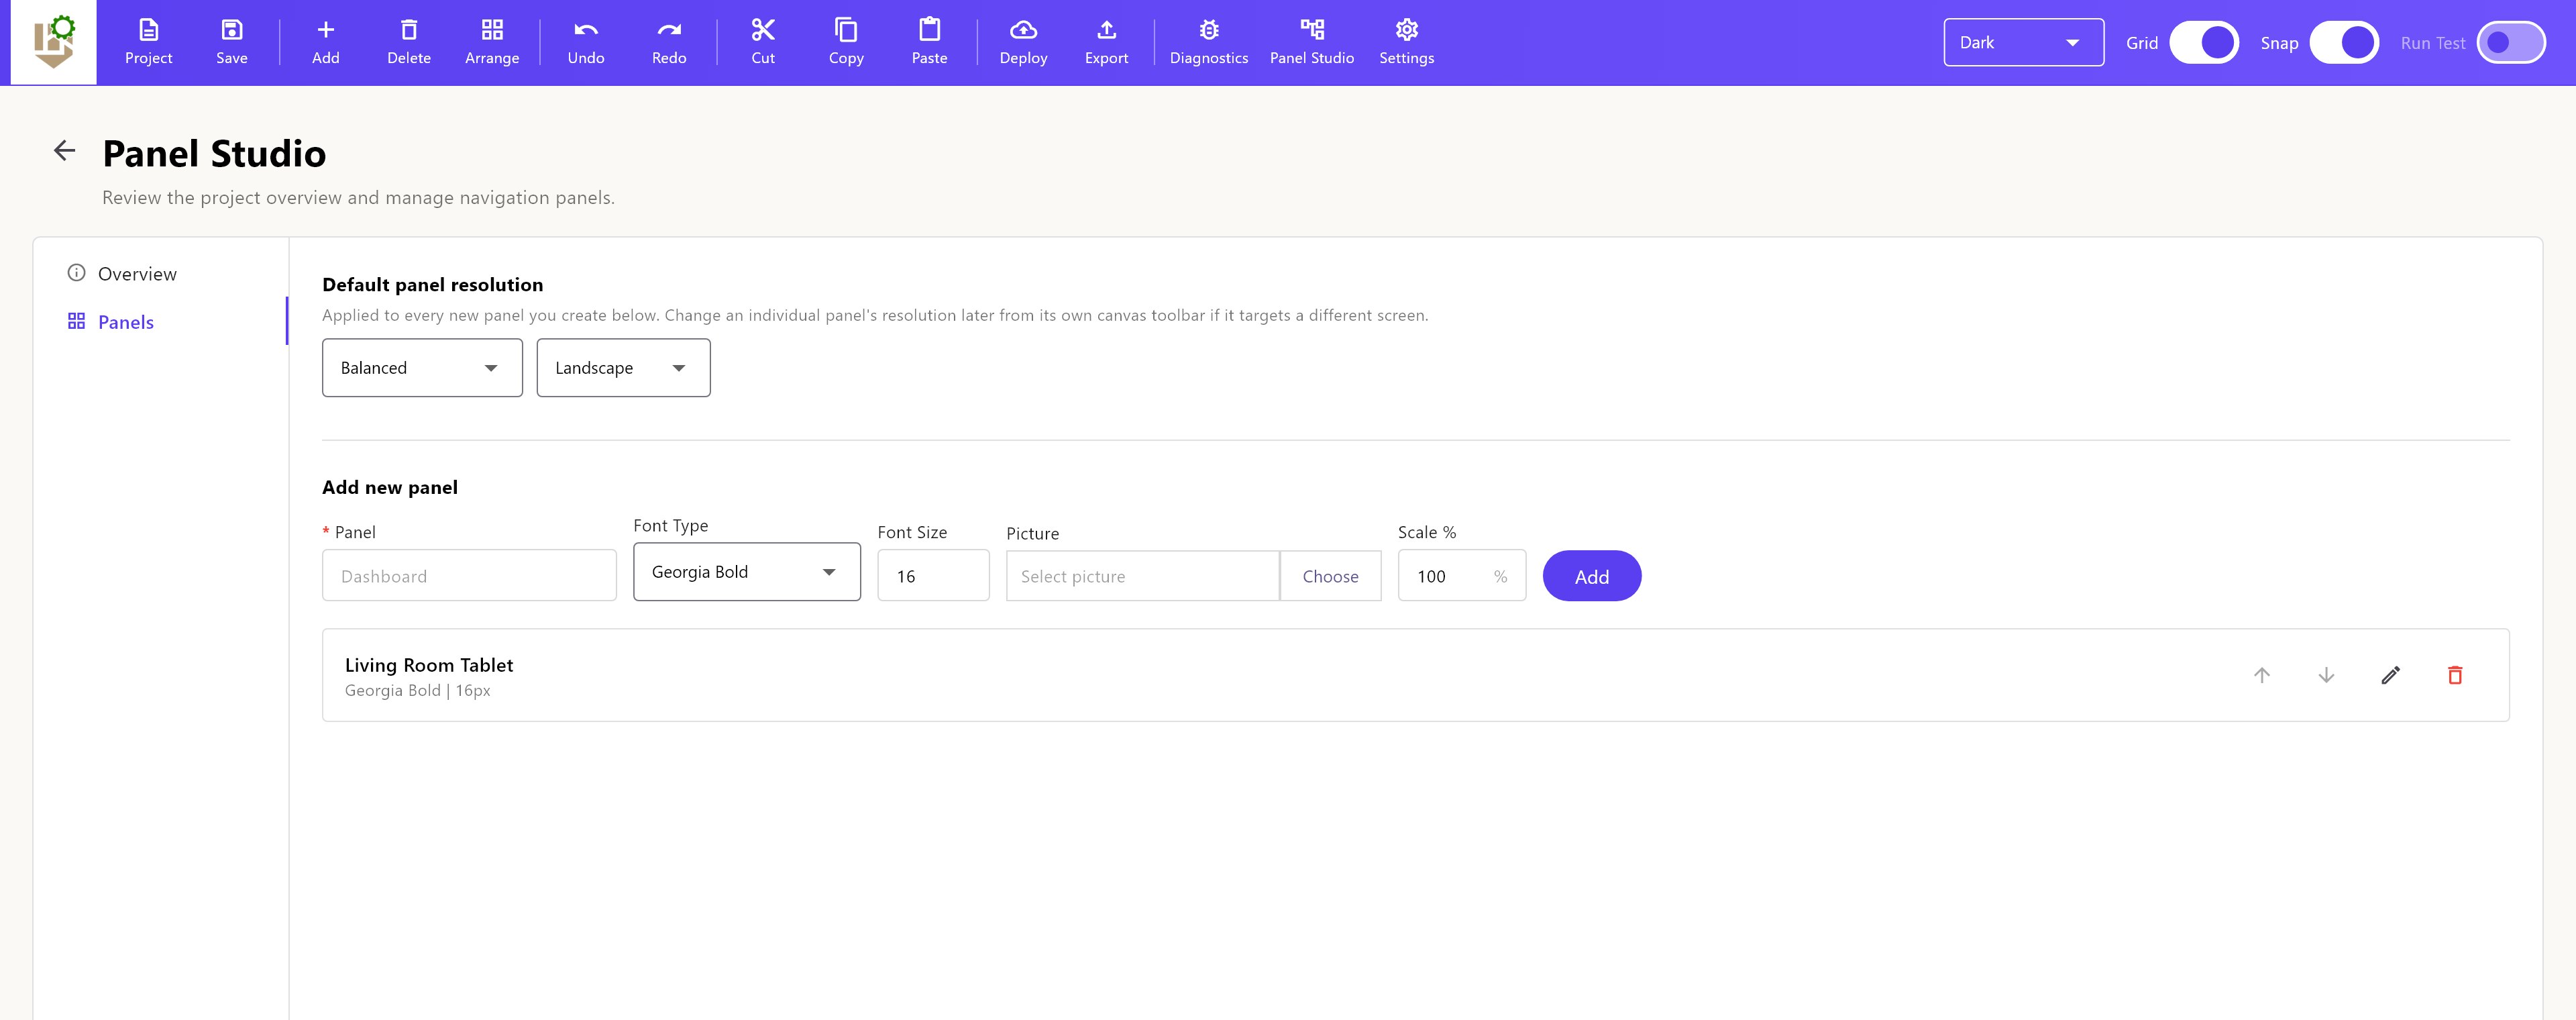
#Step 3: Add a panel
A panel stands for one screen, such as "Living Room Tablet". On the Panels tab of Panel Studio, type a name and click Add. You can also choose a font and a background picture.
#Step 4: Add a page
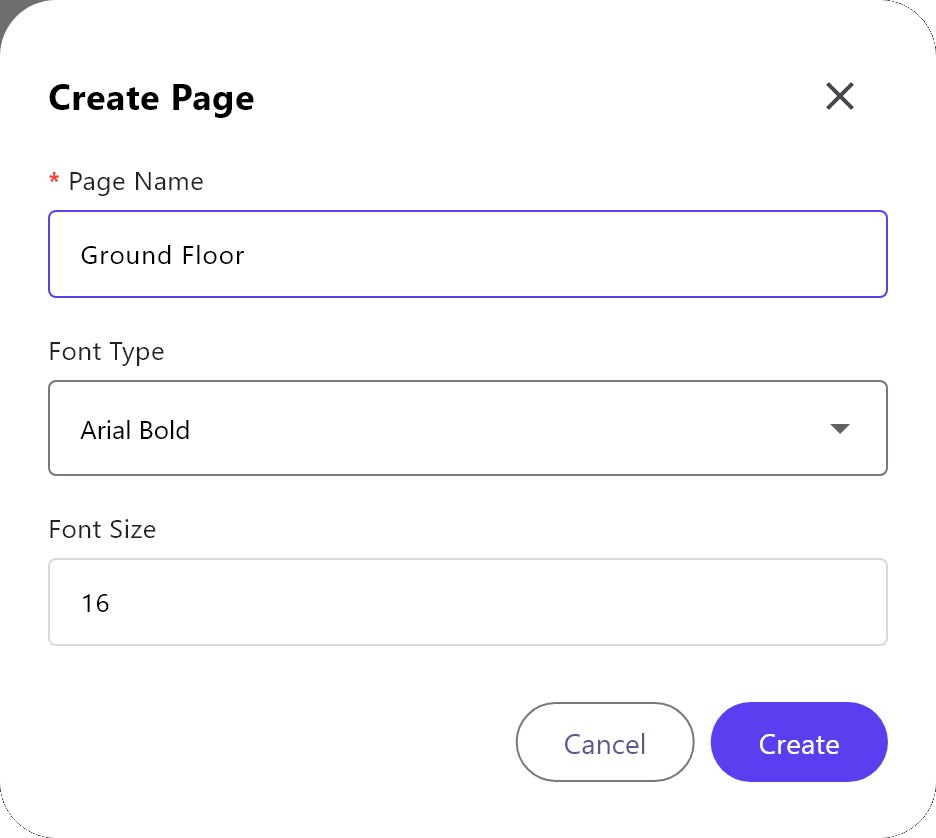
A page is the canvas where you place objects, for example "Ground Floor" or "Energy". Click the panel's tab at the top of the screen to open its canvas, right-click on it and choose Page.
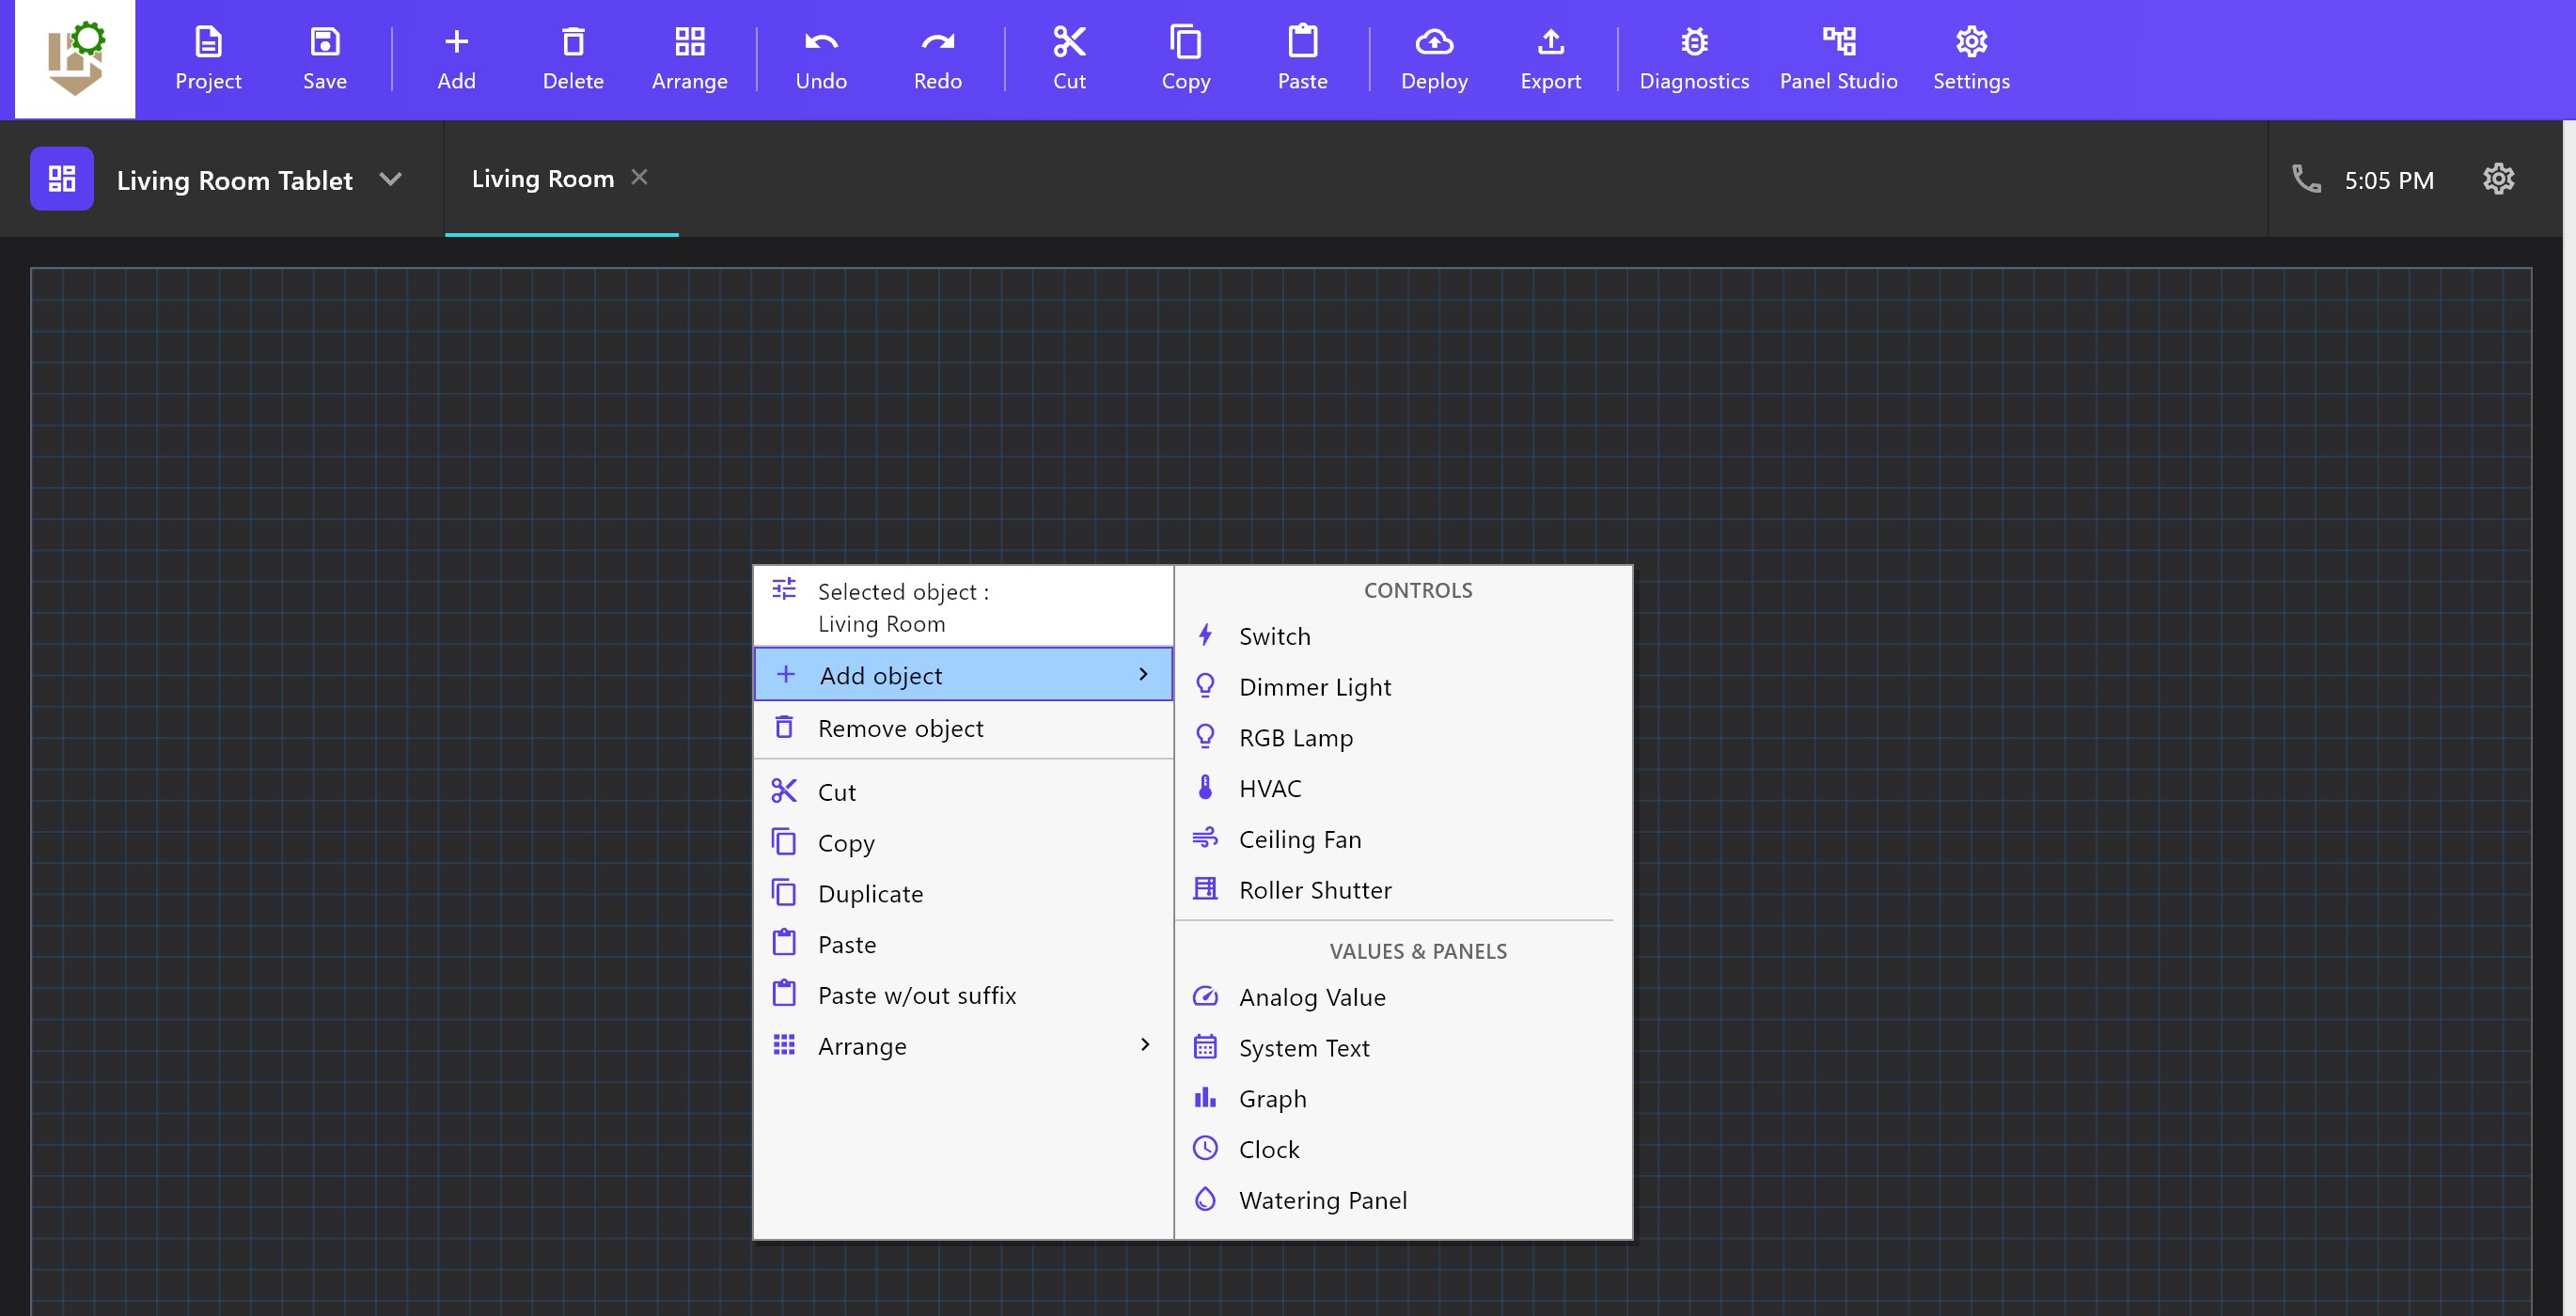
Name the page and click Create.
#Step 5: Add objects
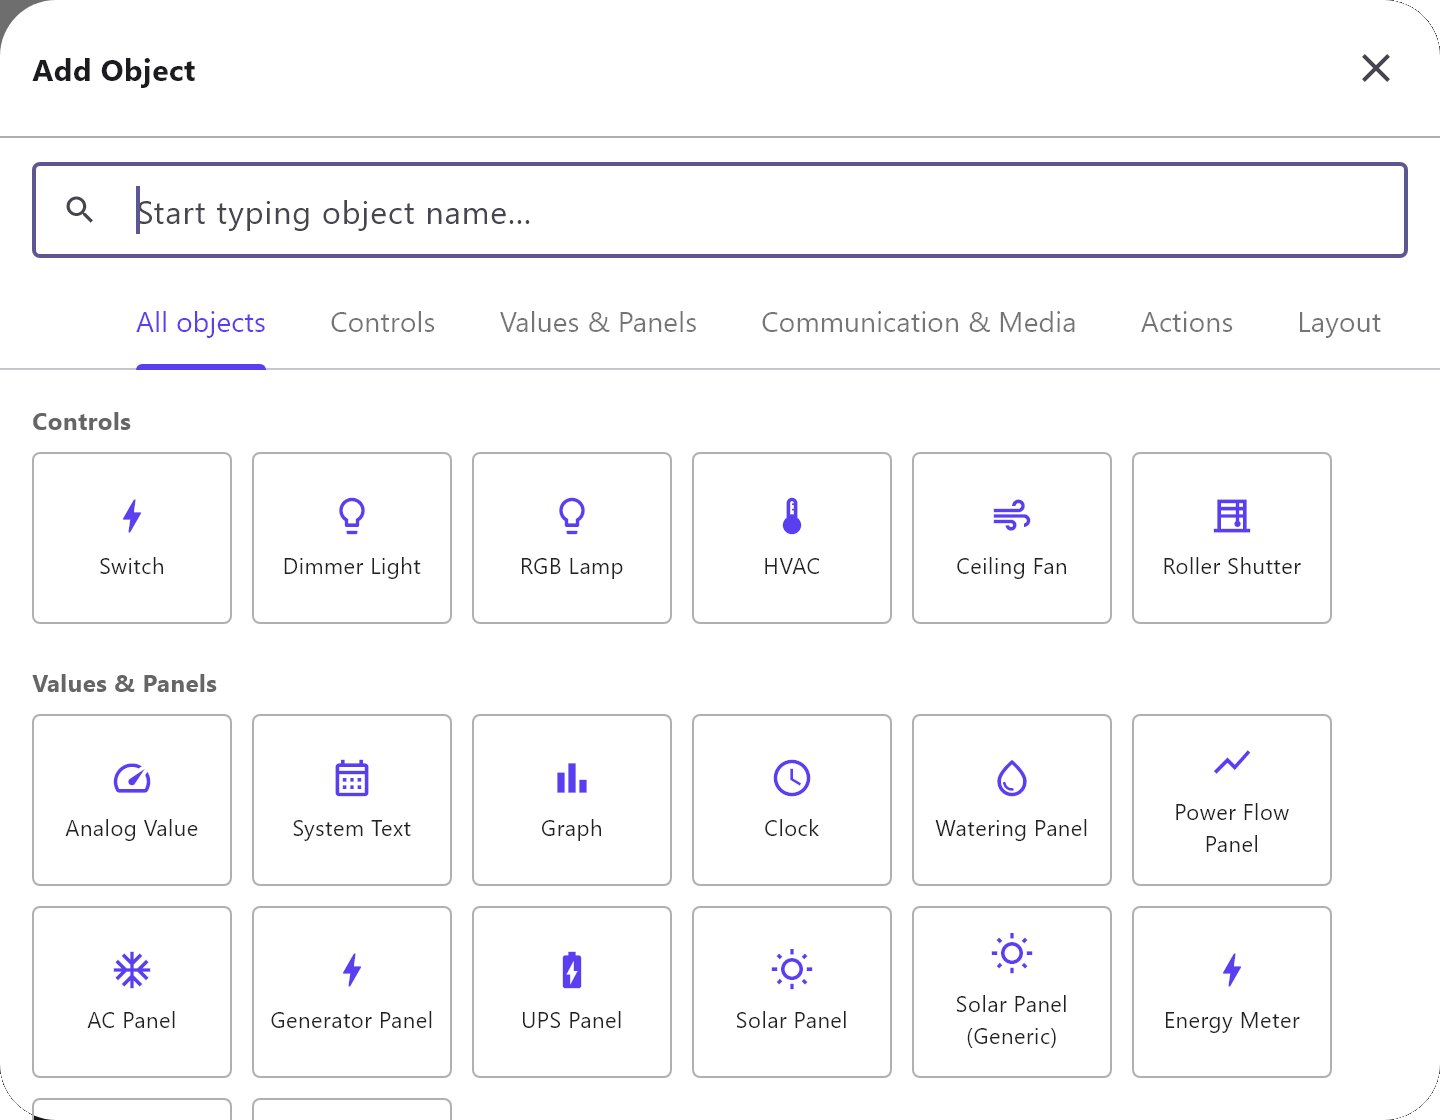
Click Add in the toolbar. The Add Object dialog lists every object type in five groups: Controls, Values & Panels, Communication & Media, Actions and Layout. You can also search by name.
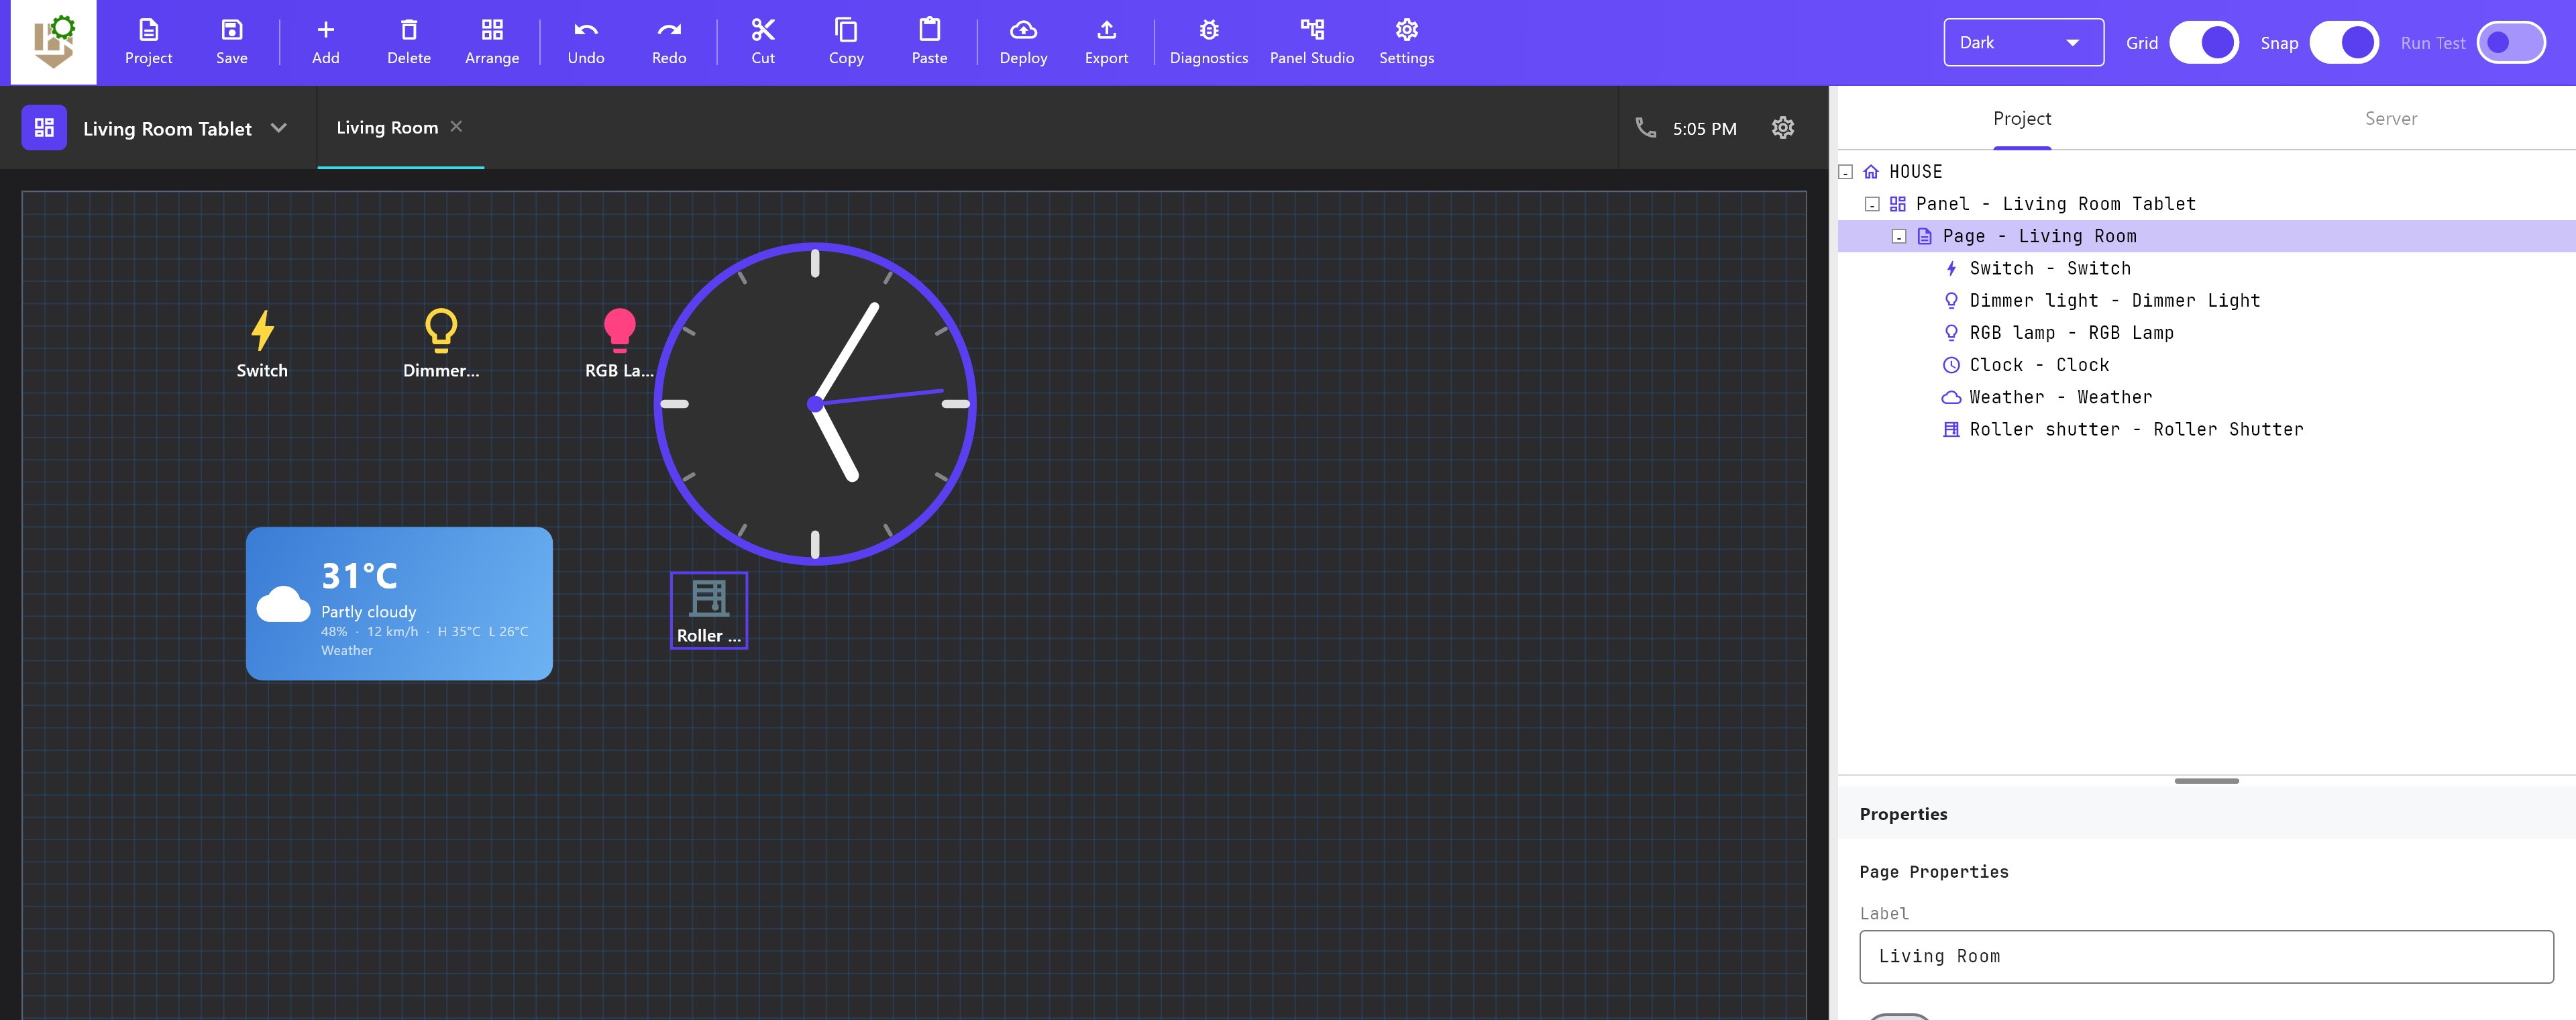
The new object appears in the centre of the page. Drag it where you want it. Change its Label, Position X and Position Y in the Properties panel on the right.
#Step 6: Connect objects to KNX group addresses
Select an object and scroll the Properties panel to the Protocol row. For a Switch on KNX, type the Group Address that switches the light and the Status Group Address that reports its state.
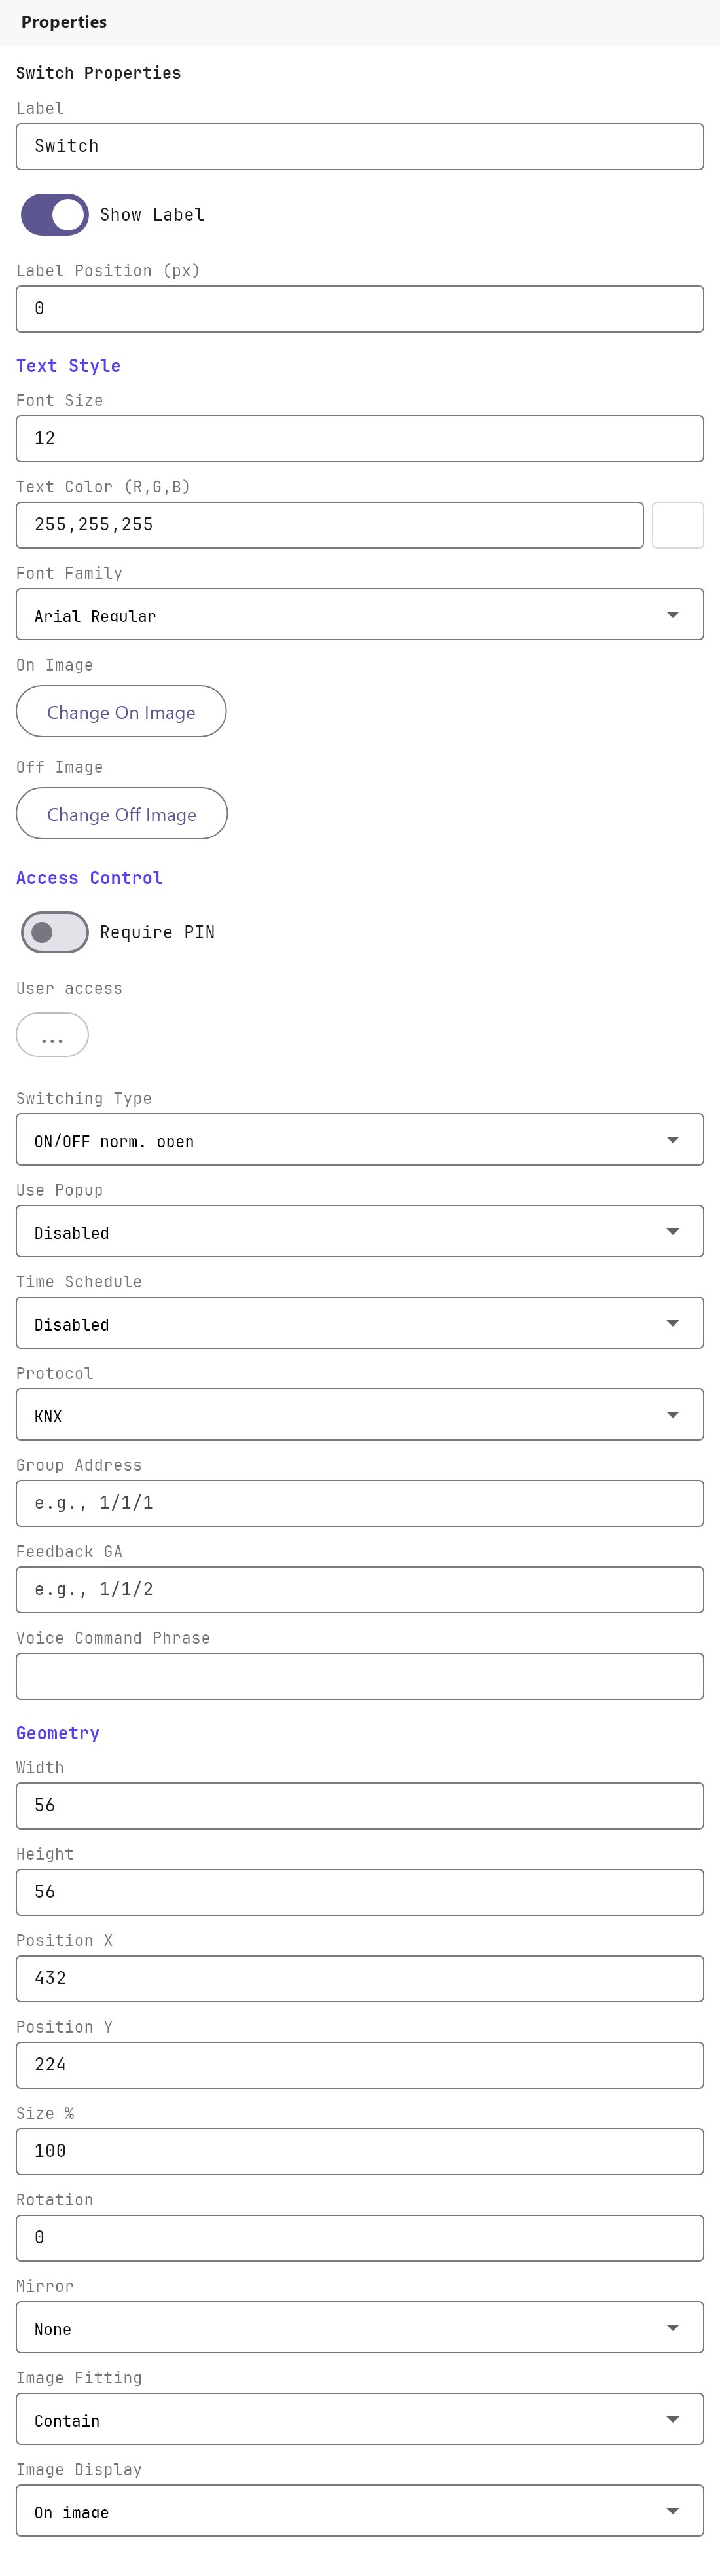
If you imported your ETS group address list (see KNX basics), start typing and pick the address from the list. Other object types have their own address fields; the KNX page lists them.
#Step 7: Switch on the KNX engine
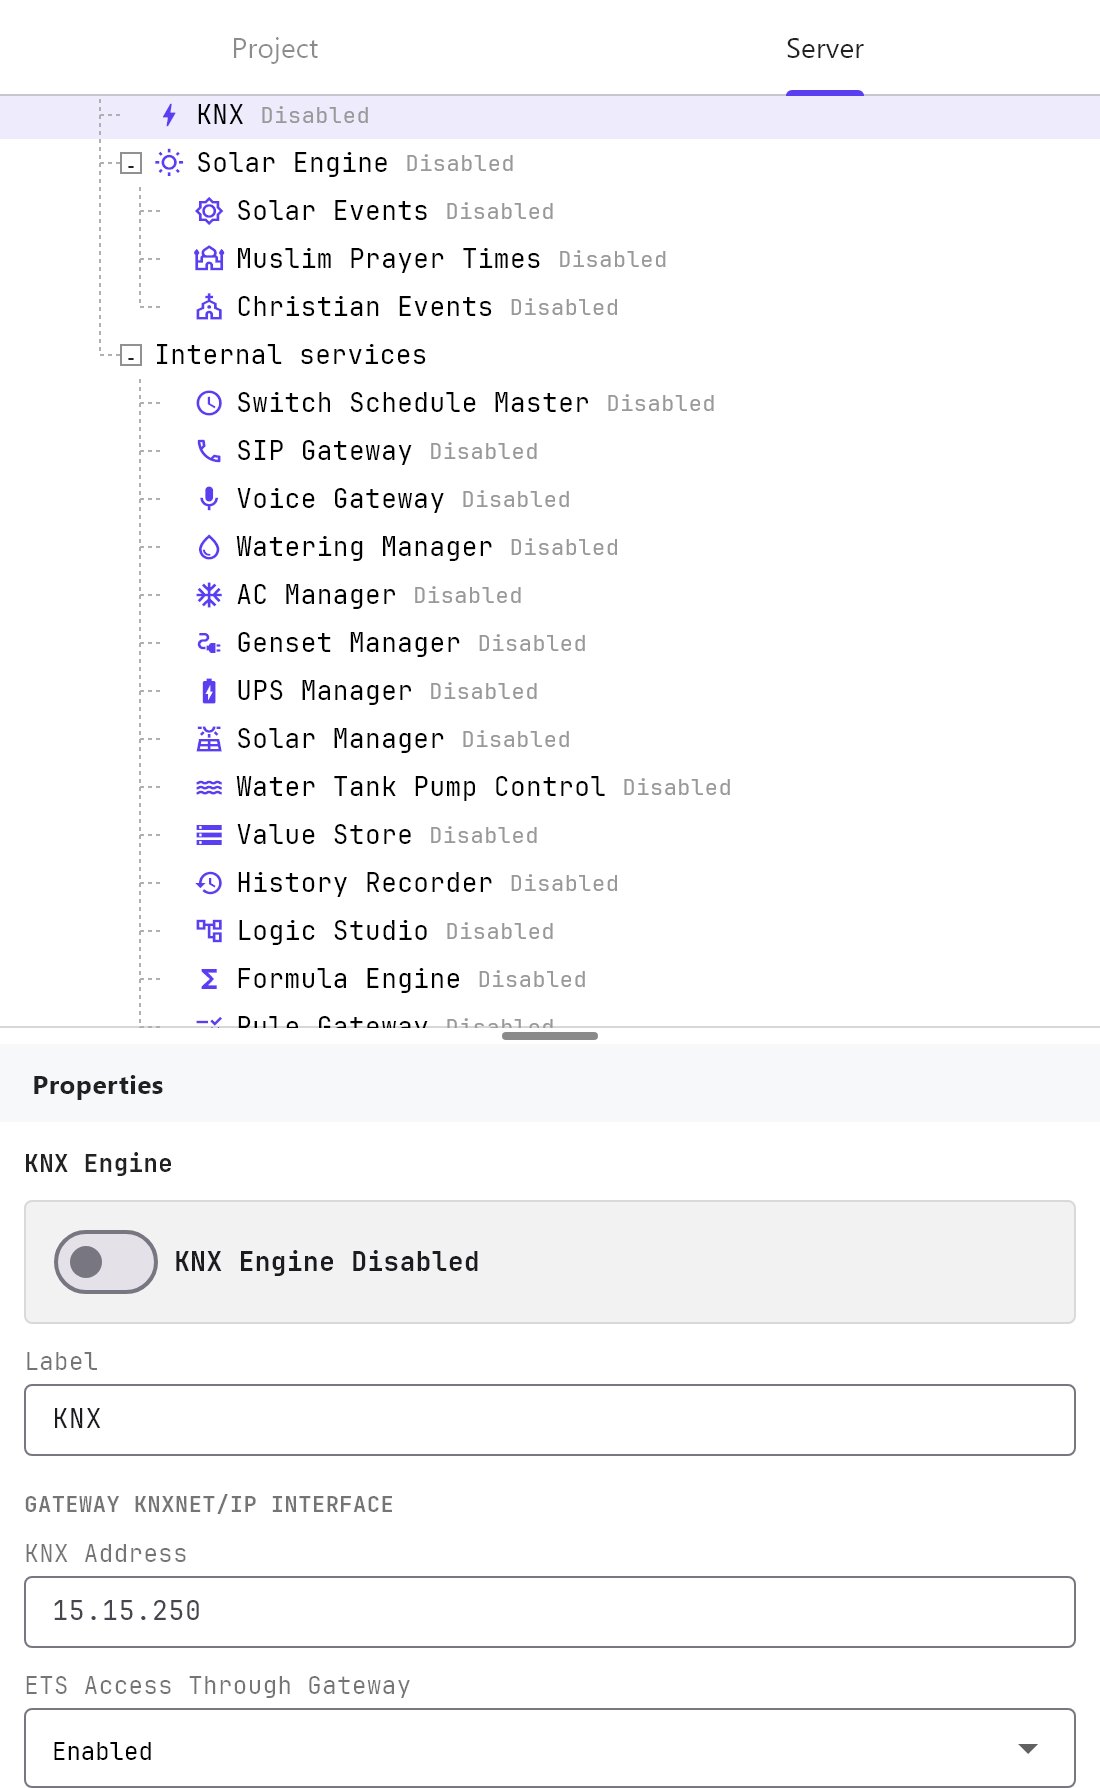
Nothing on the gateway is active until you enable it. Open the Server tab on the right, choose Engines > KNX, and turn Enabled on. Enter the gateway's KNX address and check the other settings.
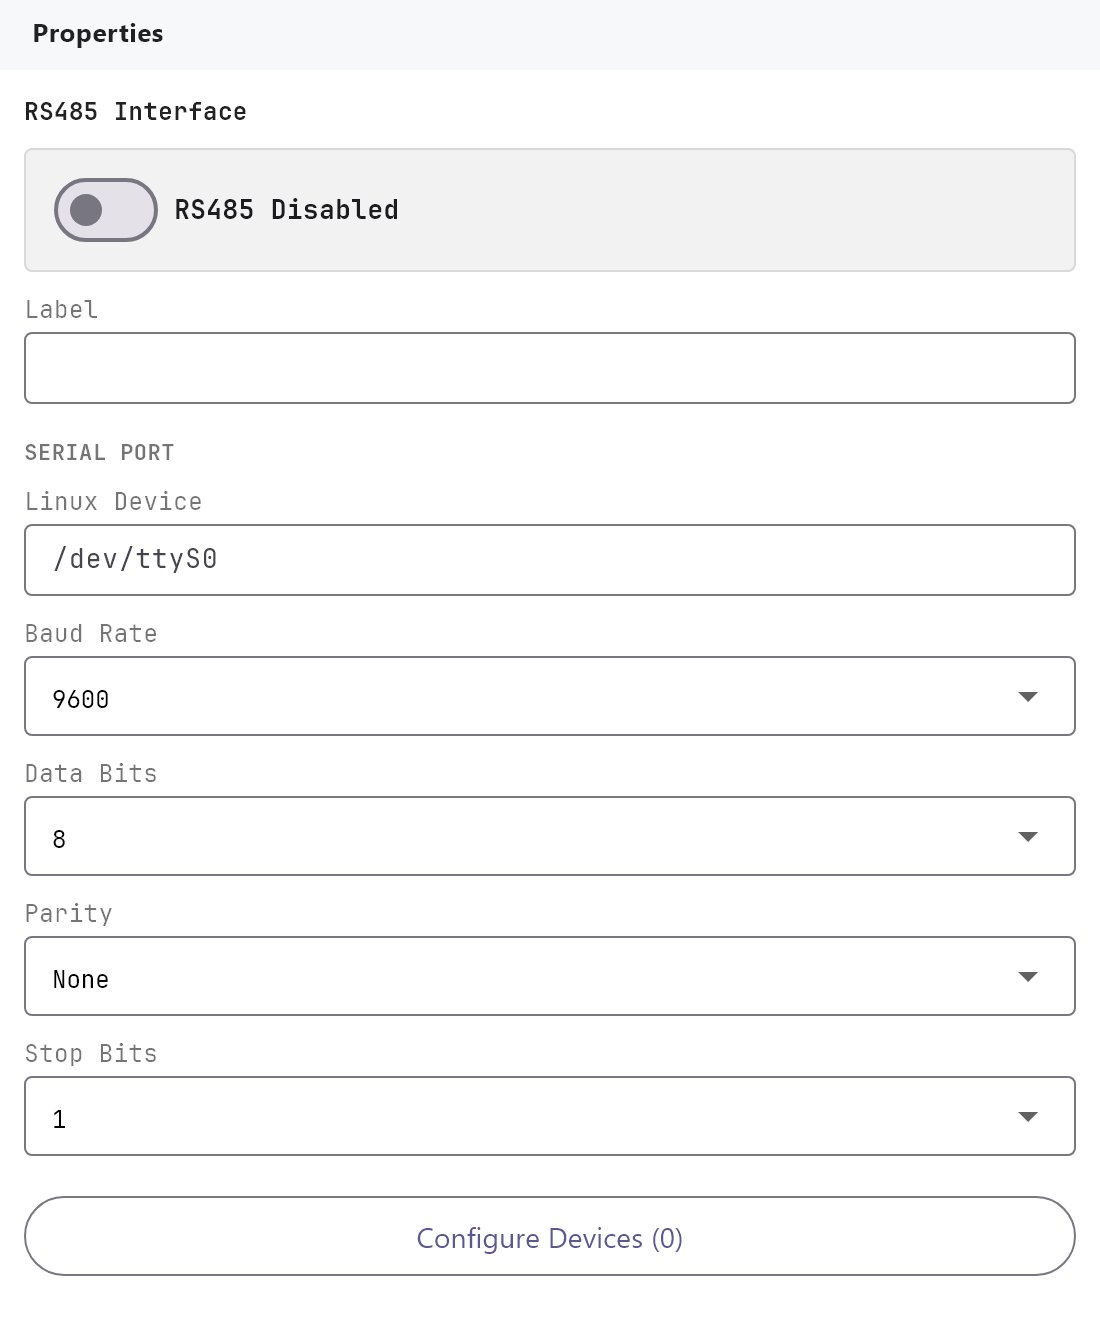
The RS485 port, which carries Modbus, has its own settings (device, baud rate, parity). See Modbus devices and datapoints.
#Step 8: Pair the Configurator with the gateway
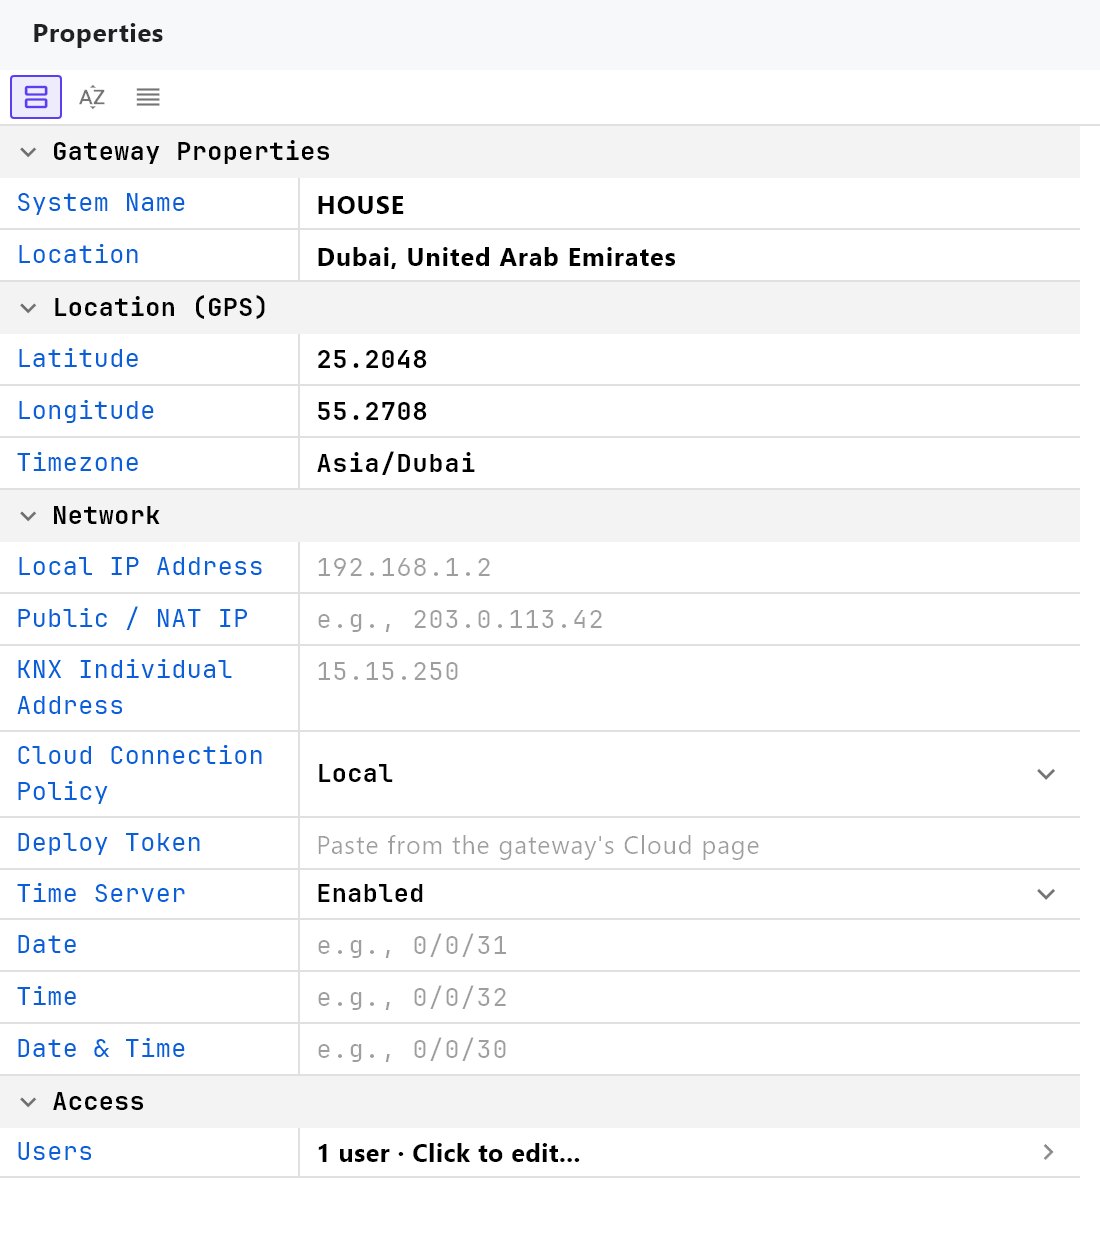
The gateway only accepts projects from a Configurator that has its deploy token. Copy the token from the gateway console (Cloud tab, Deploy Pairing), then paste it into Deploy Token under Server > Gateway in the Configurator. You do this once per gateway.
The gateway console is the web page at http://<gateway-ip>:3127/. See Gateway console and logs.
#Step 9: Save and deploy
Click Save in the toolbar, then Deploy. The Deploy to Gateway dialog shows each stage: checking, optimising, finding the server, uploading, confirming and syncing to the cloud. When it finishes, the gateway is running your project.
For the stages, the errors and what to do about each, see Deploying to a gateway.
#Step 10: Sign in on the app
Open the Veltnova app, choose Local (or Auto on a phone), enter the gateway's IP address, and sign in with the username and password from step 2. The first time a device signs in, you must approve it once on the gateway console (Clients tab, tick Active).
The app shows the page you built. Press the light, and the KNX telegram goes out through the gateway.
See Connecting the apps for the connection modes and the approval step.
#Checklist before you leave the site
- The KNX engine and every interface you use are Enabled.
- Every control object has both a command and a status group address.
- The project is saved, exported and deployed.
- The app signs in and the device is approved.
- The intercom and a door-station call have been tested (see Intercom and door stations).
- The customer has the app user's name and password, and knows who to call.
Something not working? Go to Common problems and fixes, or read the FAQ.