
3.30Picture
A plain image on a page, such as a floor plan, a logo or a decoration, with no live value and no action.
The Picture object places a still image on a page. It is not connected to any bus and does not react to taps.
#When to use it
Use it for floor plans, room photos, logos and decorative artwork that sit behind or between your controls. If the image should change with a value, use a State Action. If it should open a page, use an Action Button. To fill the whole page background, you can instead use the page's own picture (see Page).
#Properties
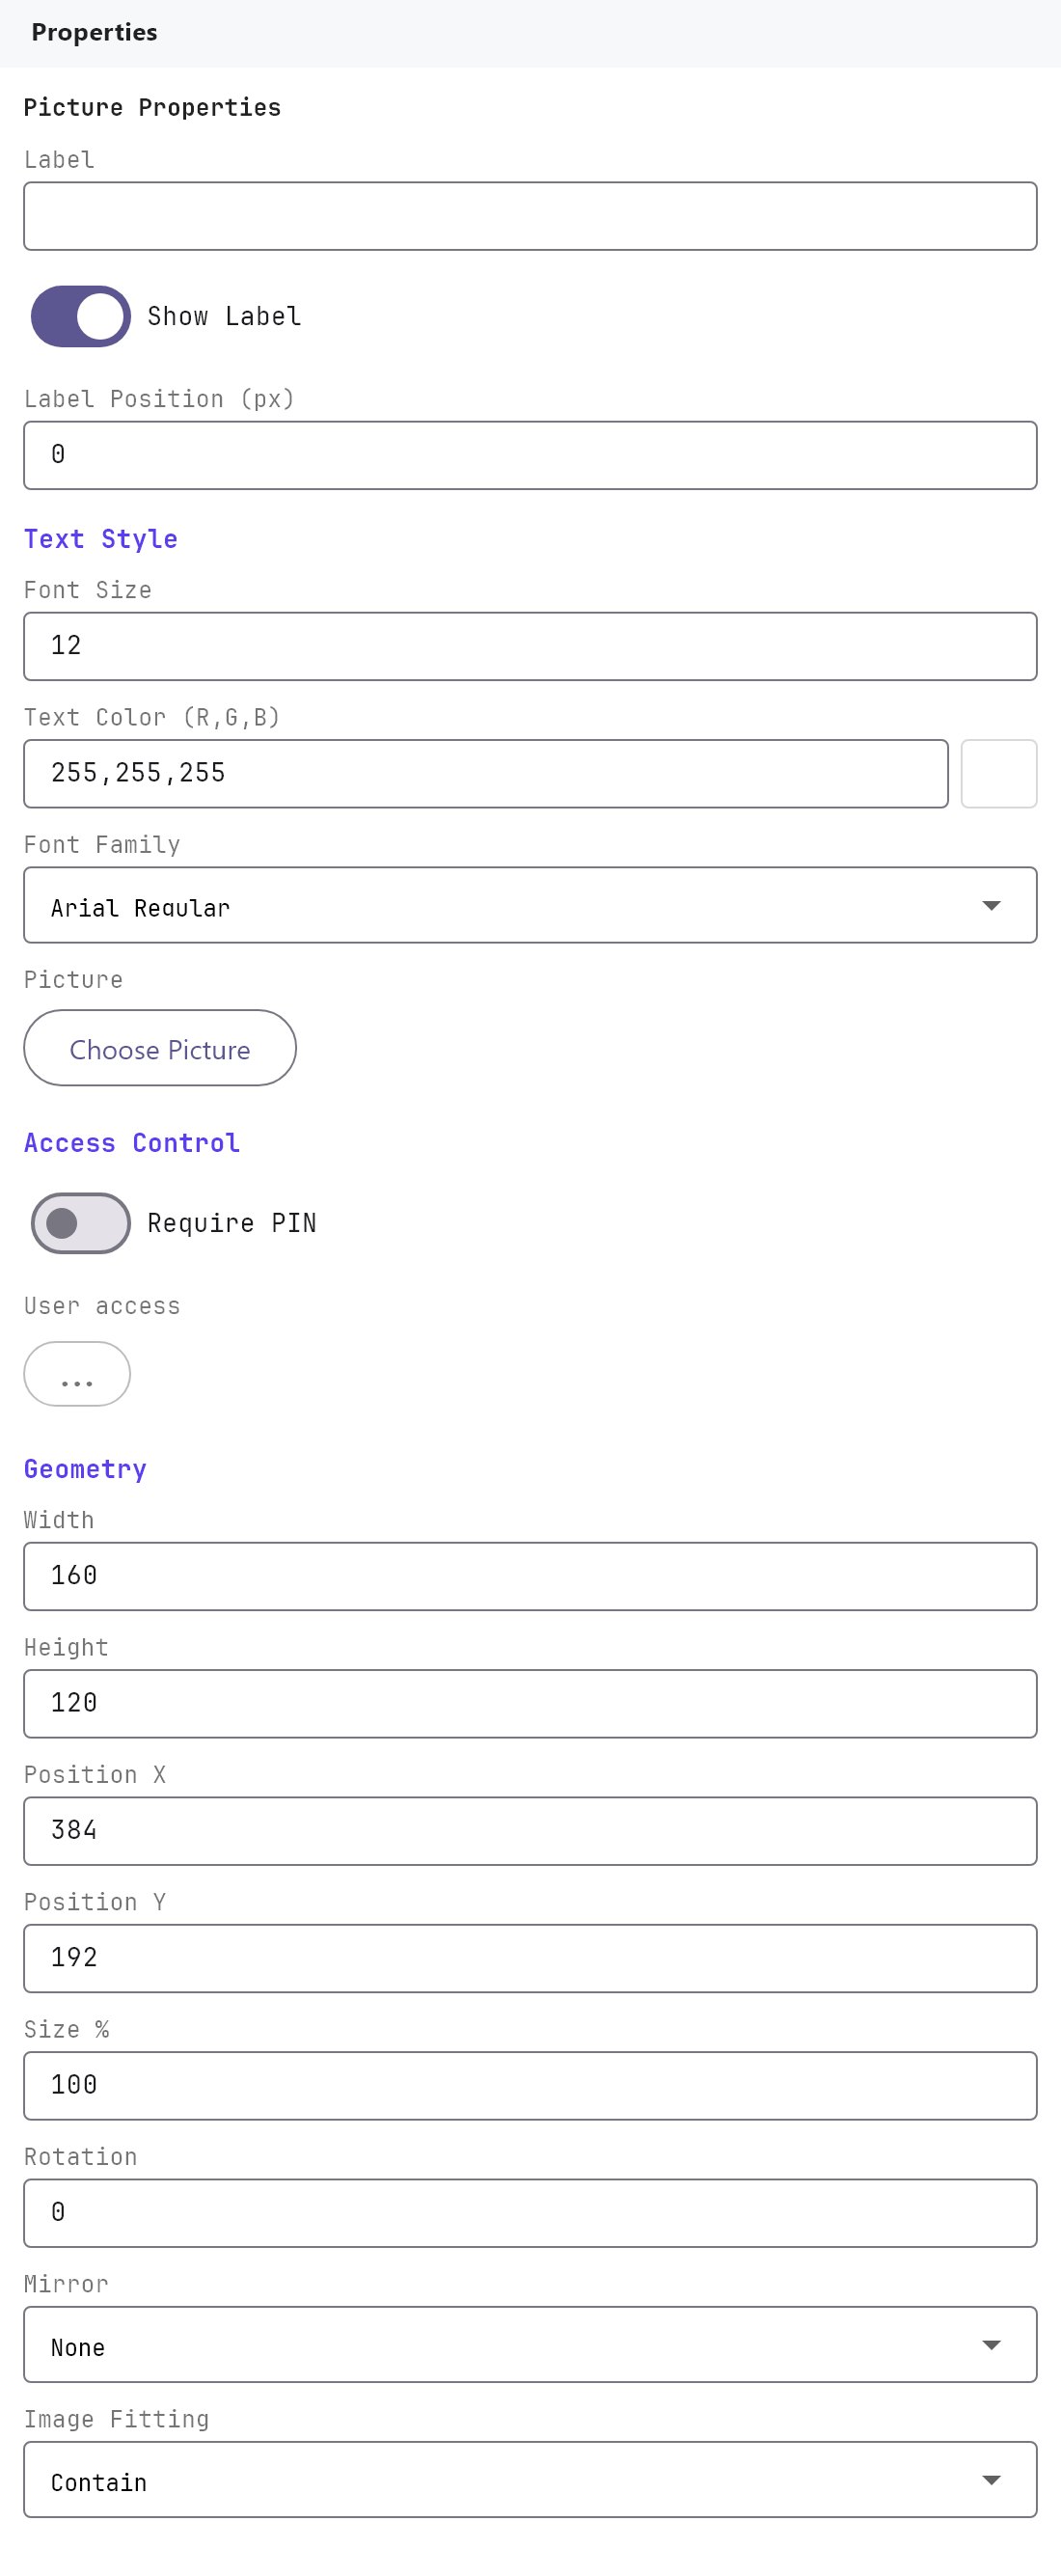
Label, Show Label, Label Position, Text Style, Access Control and the Width, Height, Position X, Position Y, Size %, Rotation, Mirror and Image Fitting fields work as described in Common properties. The Picture has no protocol, no group address and no Image Display field.
#Picture settings
| Property | What it does |
|---|---|
| Picture | The image. Click the button to open the clipart gallery, which has built-in images and Import Custom Image for your own files. The button shows the picture's name, or (none) before you choose one. |
| Label | Empty by default. A caption shown with the picture only if you type one. A label of just Picture is treated as no label. |
| Width and Height | 160 by 120 for a new object. Choosing a picture resizes the object to the image's own proportions (small images up to about 180 pixels on the longest side, larger ones up to 90 percent of the canvas) and resets Size % to 100. Change them afterwards if you want a different size. |
#How it behaves in the apps
- The apps draw the image inside the object's box. Tapping it does nothing.
- If the Label is not empty and not
Picture, the caption appears below the image. The Show Label switch and the Label Position nudge apply to it. - The Veltnova client applies Image Fitting, Rotation and Mirror. The picture is clipped to its box, so a Cover or Native picture or a turned one never spills over its neighbours.
#Example
A floor plan behind the lights:
- Add a Picture to the page. Leave Label empty.
- Click Picture, choose Import Custom Image, and select your floor plan file. The object resizes to the image.
- Set Width to
900and Height to600, Position X and Position Y to0, Image Fitting toContain. - Add the Switch objects on top of the plan at the positions of the lights.
#Tips and common problems
- Imported images are stored inside the project, so a very large photo makes the project bigger. Resize images before importing them.
- Set the Label empty if you do not want text under the image.
- The picture looks stretched: set Image Fitting to
Contain, or make the Width and Height keep the image's proportions.