
3.19Solar Panel
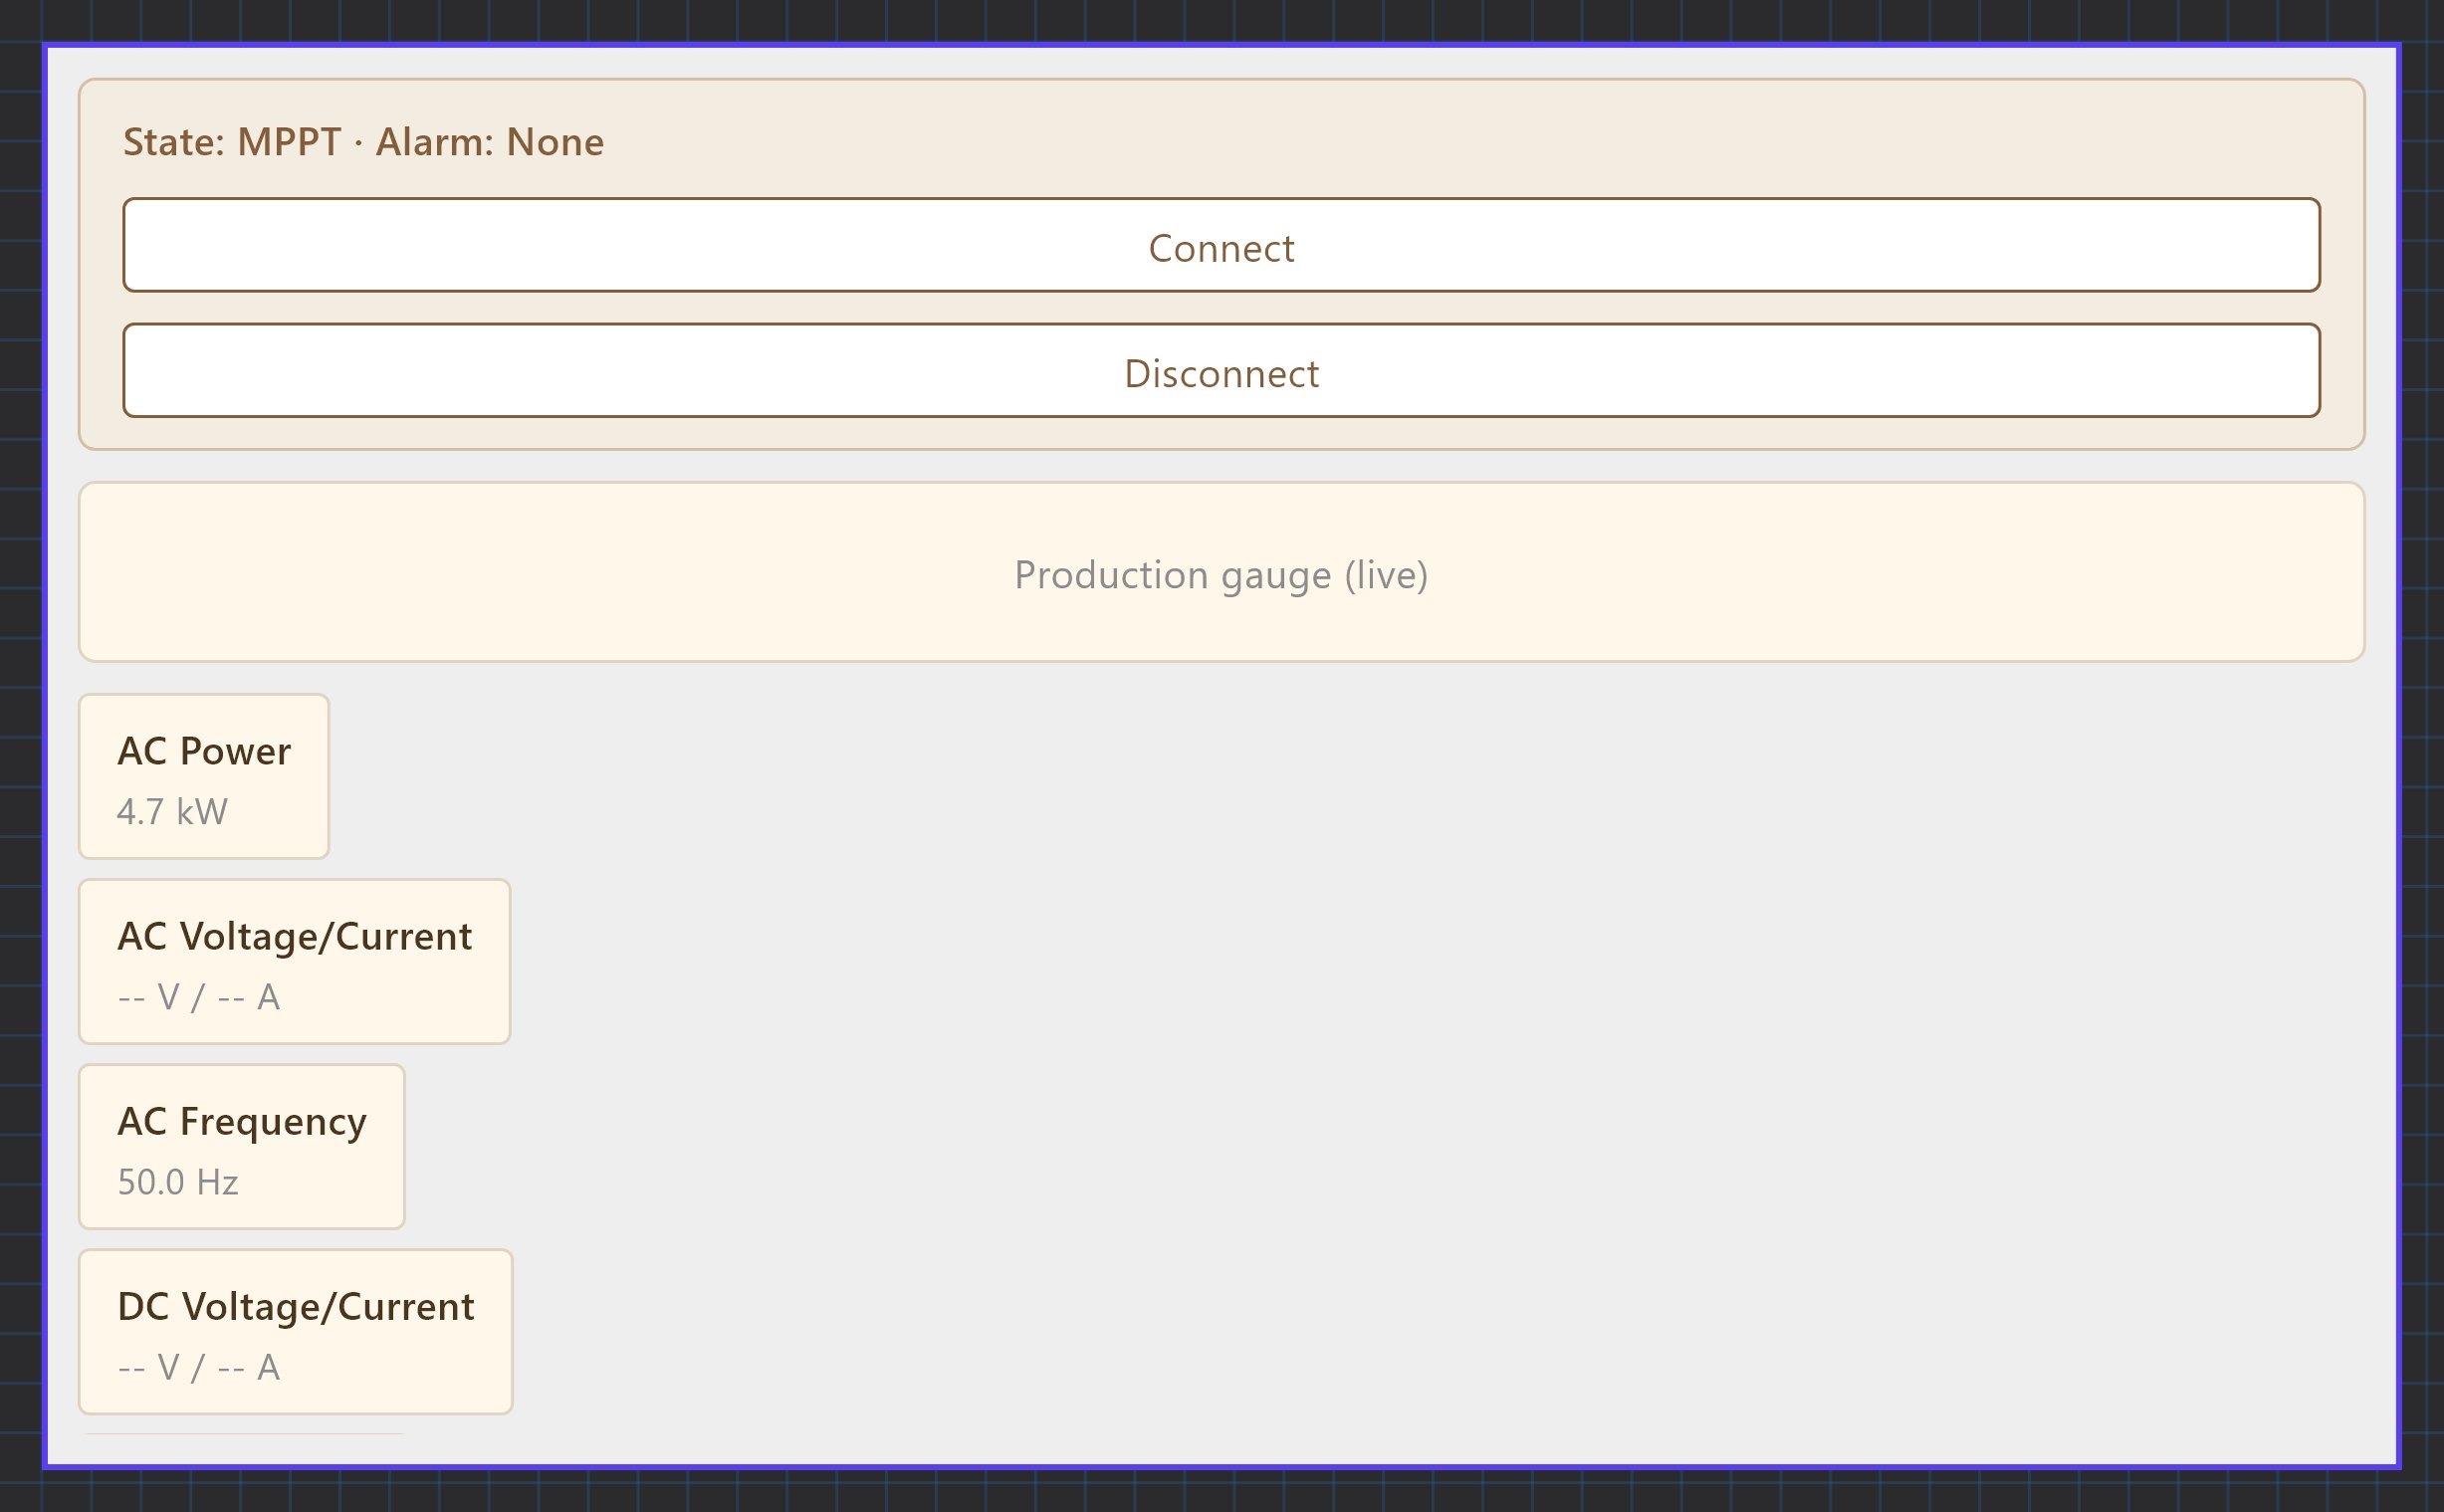
A full-screen page for a Fronius Tauro ECO solar inverter with a production gauge and live AC, DC and energy readings, read by the Solar Manager.
The Solar Panel shows the production of one solar inverter: a gauge with the current AC power against the inverter's capacity, and a list of electrical readings. Its layout is fixed and it reads everything from the Solar Manager. The panel itself has almost no settings.
#When to use it
Use it for a Fronius Tauro ECO inverter connected to the gateway over Modbus RTU. If you need daily or yearly energy, grid export, or an inverter from another maker, use the Solar Panel (Generic) instead. Put the panel alone on its own page: in the apps it fills the whole screen.
#What you need first
- Modbus device. Open Server > Interfaces > RS485 Interface (or RS232 Interface), turn Enabled on and set the serial parameters. Click Configure RTU Devices and add the inverter with the driver Fronius - Tauro ECO Inverter and the inverter's Slave ID. See Modbus devices and datapoints.
- Solar Manager. Open Server > Internal services > Solar Manager and turn Enabled on.
| Solar Manager field | What it does |
|---|---|
| Label | Name of the service in the Configurator. |
| Modbus RTU Device | The inverter you added in step 1. The list shows RS485 and RS232 devices, each with its slave number and port. |
| Inverter Capacity (kW) | 1 to 5000, default 50. The full scale of the Production gauge. Set it to the rated AC power of the inverter. |
The gateway reads the inverter on a fixed SunSpec register map, so no datapoints need to be added by hand.
#Properties
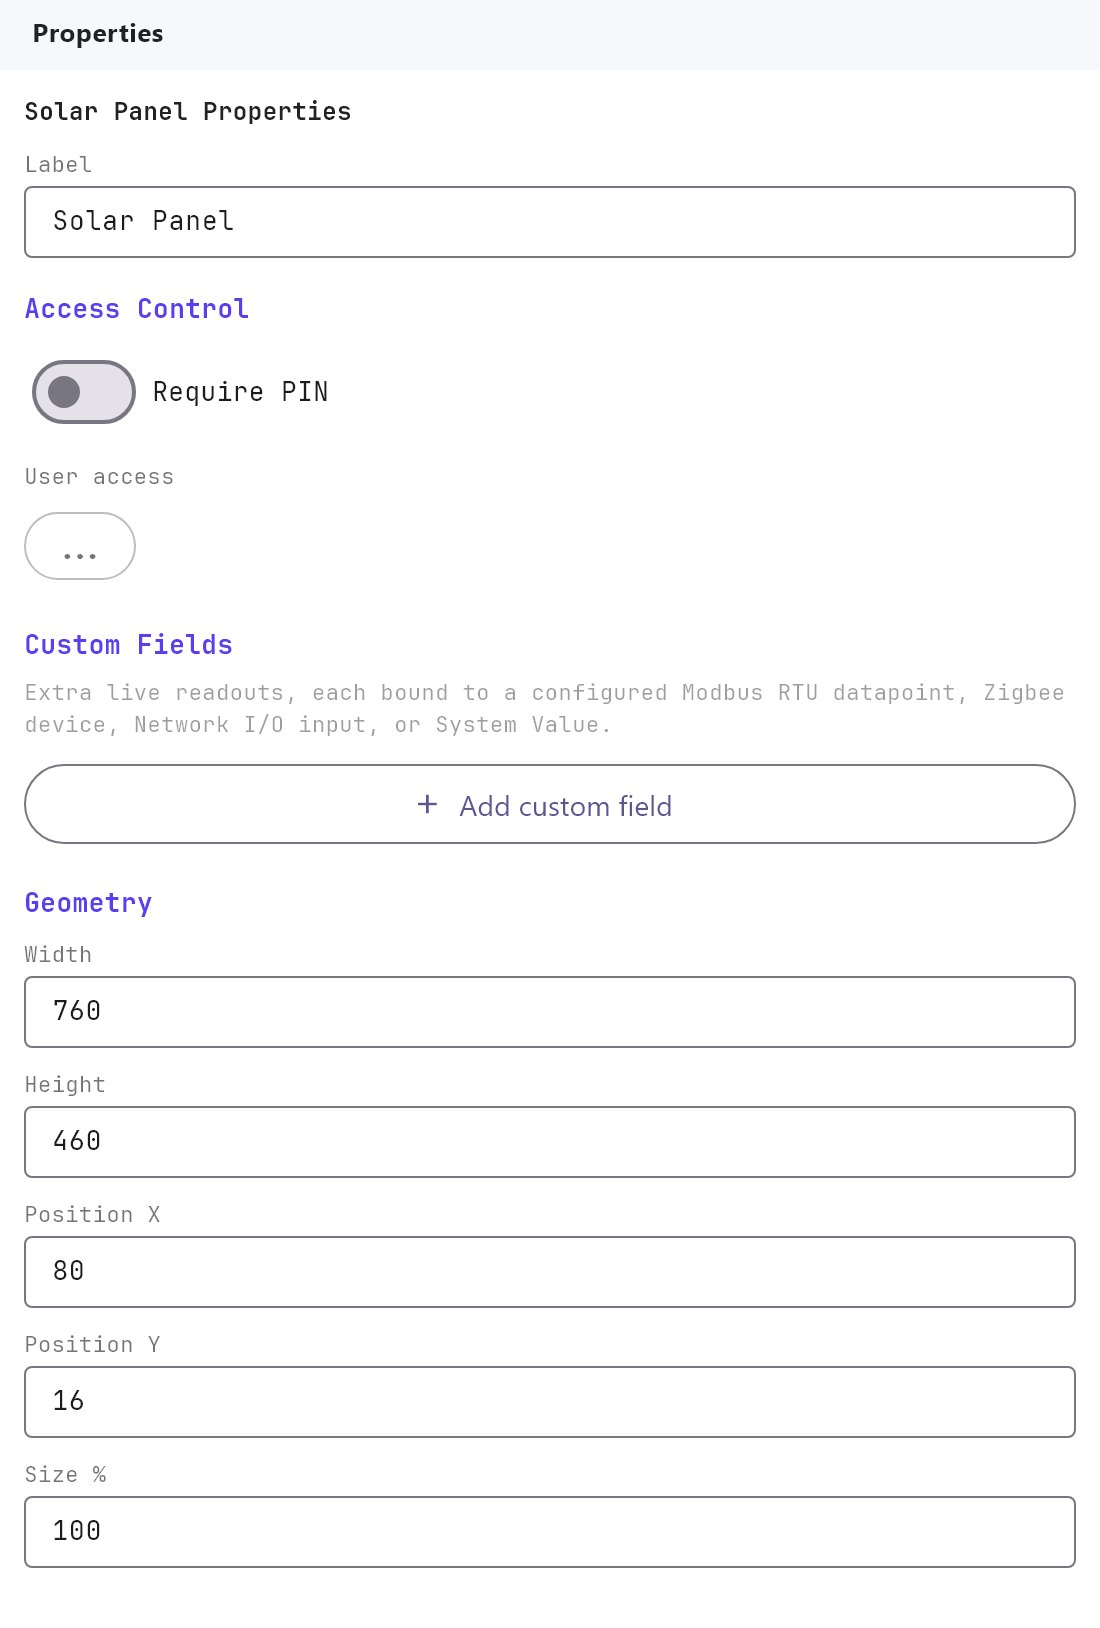
The Solar Panel has only the fields below, described in Common properties. There is no Text Style, Protocol or image field, and there is nothing to map.
| Property | What it does |
|---|---|
| Label | A name for the object in the Configurator. It is not shown in the apps. |
| Require PIN, User access | The Access Control fields. |
| Width, Height | Default 760 by 460. Used only for the preview in the editor. |
| Position X, Position Y, Size % | Editor placement. In the apps the panel fills the screen. |
#How it behaves in the apps
- Production gauge: the inverter's AC power in kW, from 0 to the Inverter Capacity.
- Readings: AC Voltage and Current, AC Frequency, Power Factor, DC Voltage and Current, DC Power, Cabinet Temperature, MPPT 1 DC Power and Lifetime Energy (in kWh).
- The panel also shows the inverter state (for example MPPT or Sleeping) and the message "Solar inverter not connected" when the inverter cannot be read.
- A value the inverter does not return is shown as
--. - The panel has no controls. There is no connect, disconnect or power limit in the apps.
- The panel shows lifetime energy only. It does not show daily, monthly or yearly energy.
#Example
A 10 kW Fronius Tauro ECO on RS485 slave 1:
- In RS485 Interface, Enabled on, then add an RTU device
Inverterwith the driverFronius - Tauro ECO Inverterand Slave ID1. - In Solar Manager, Enabled on, Modbus RTU Device
Inverter (slave 1, RS485), Inverter Capacity (kW)10. - Add a Solar Panel on a page called
Solarand deploy.
#Tips and common problems
- Every reading shows
--: the interface is not enabled, the Slave ID or serial settings do not match the inverter, or the Solar Manager has no Modbus RTU Device. - The gauge is nearly empty at full sun: Inverter Capacity is set too high. The default is 50 kW.
- You want daily or yearly production: use the Solar Panel (Generic), which can keep a daily and monthly history in the Veltnova client from the lifetime energy counter.